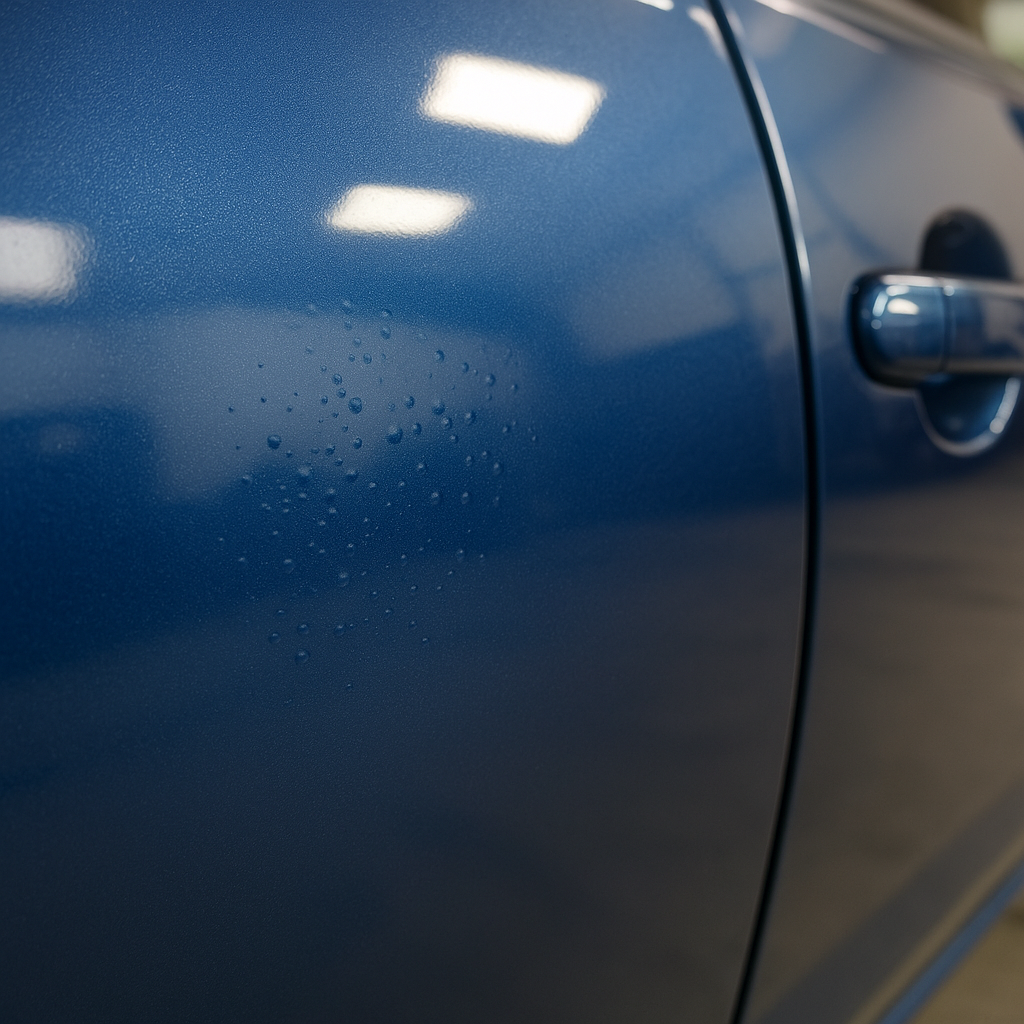
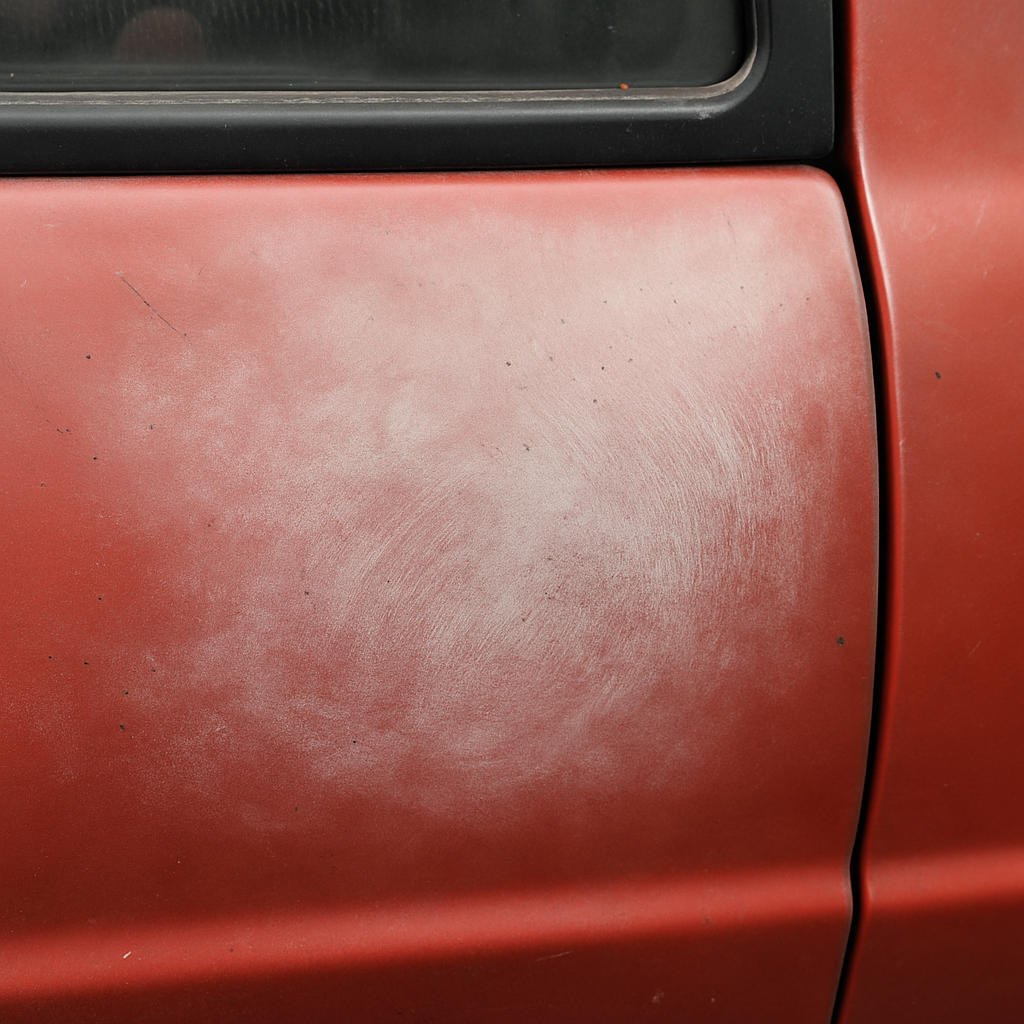
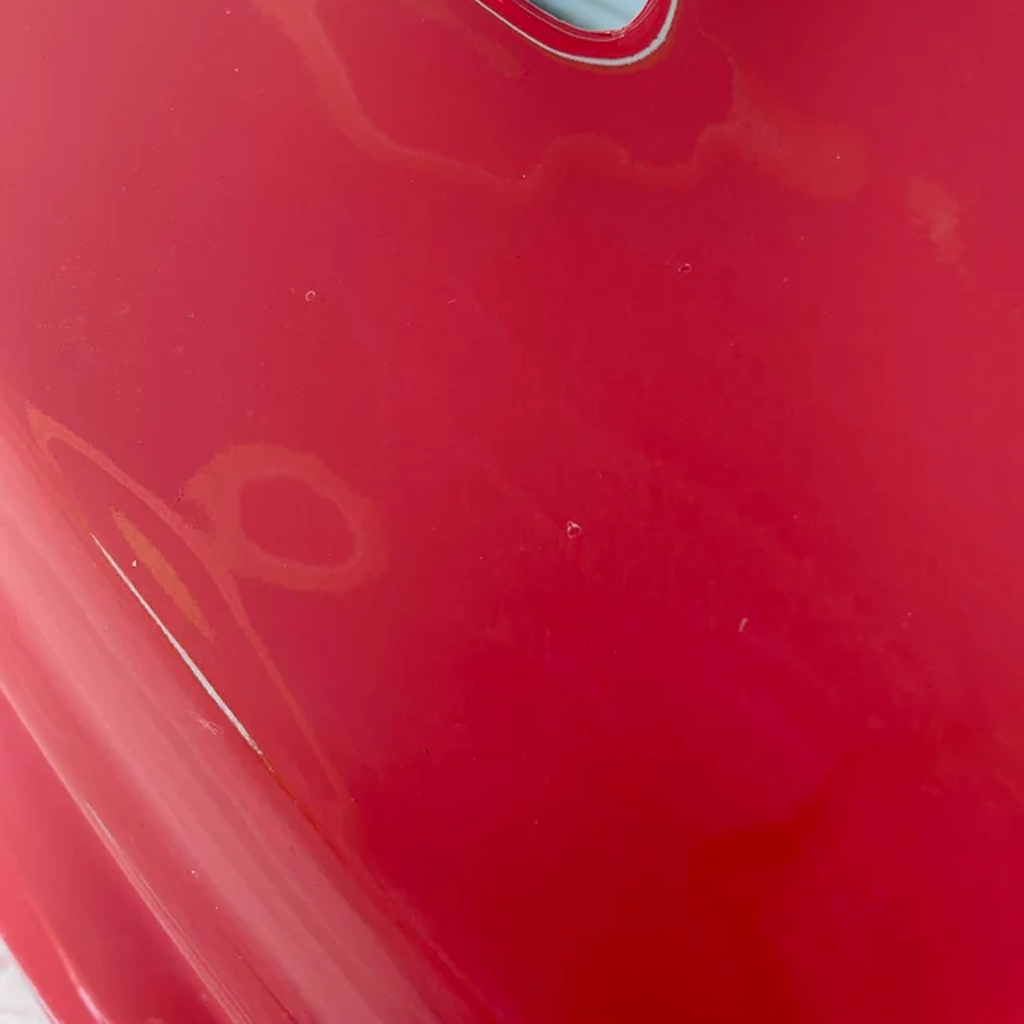
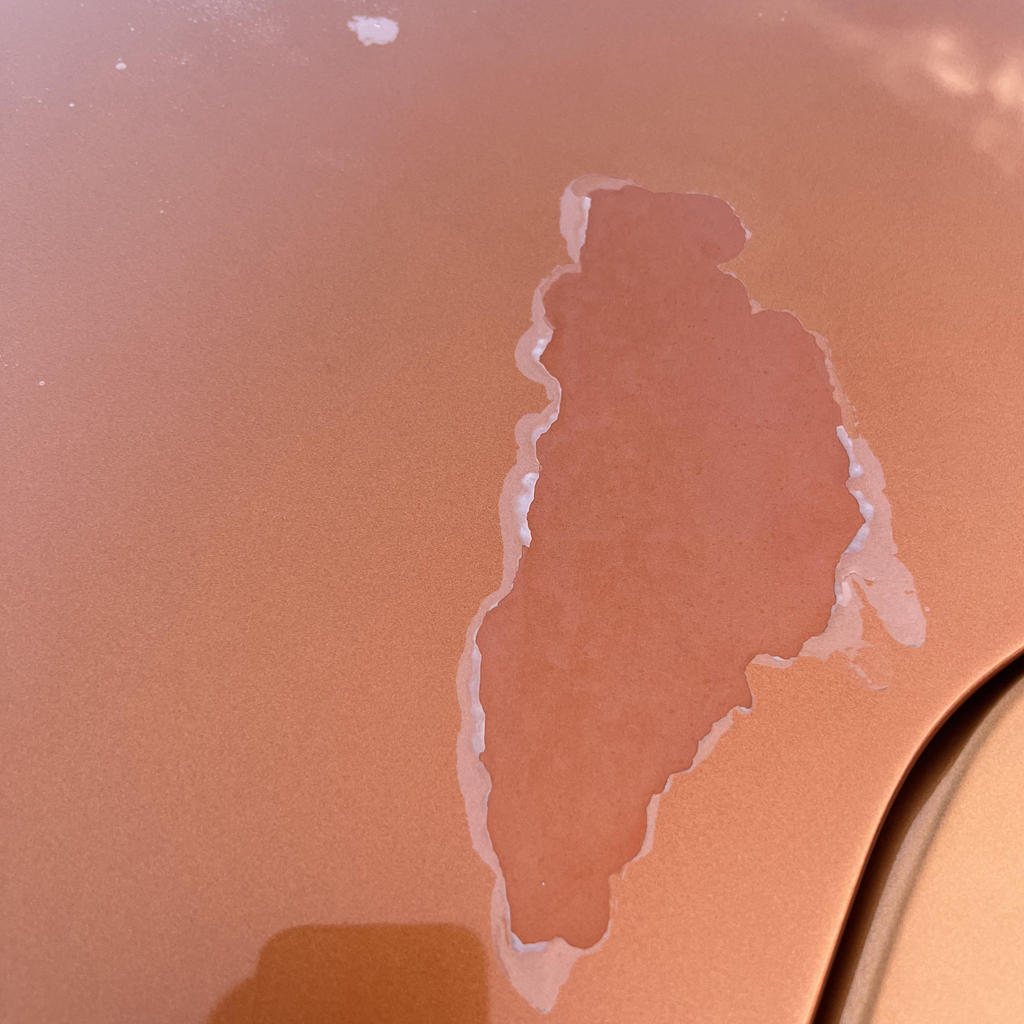
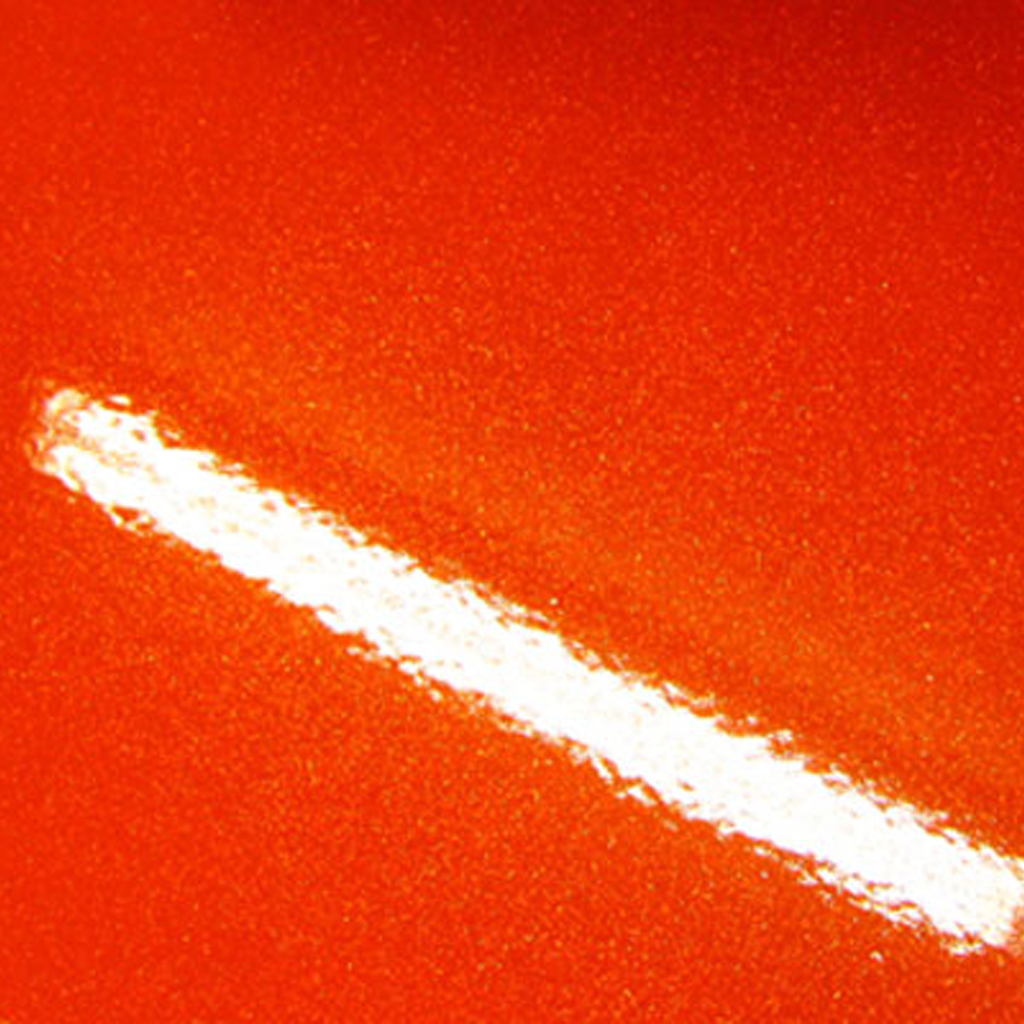
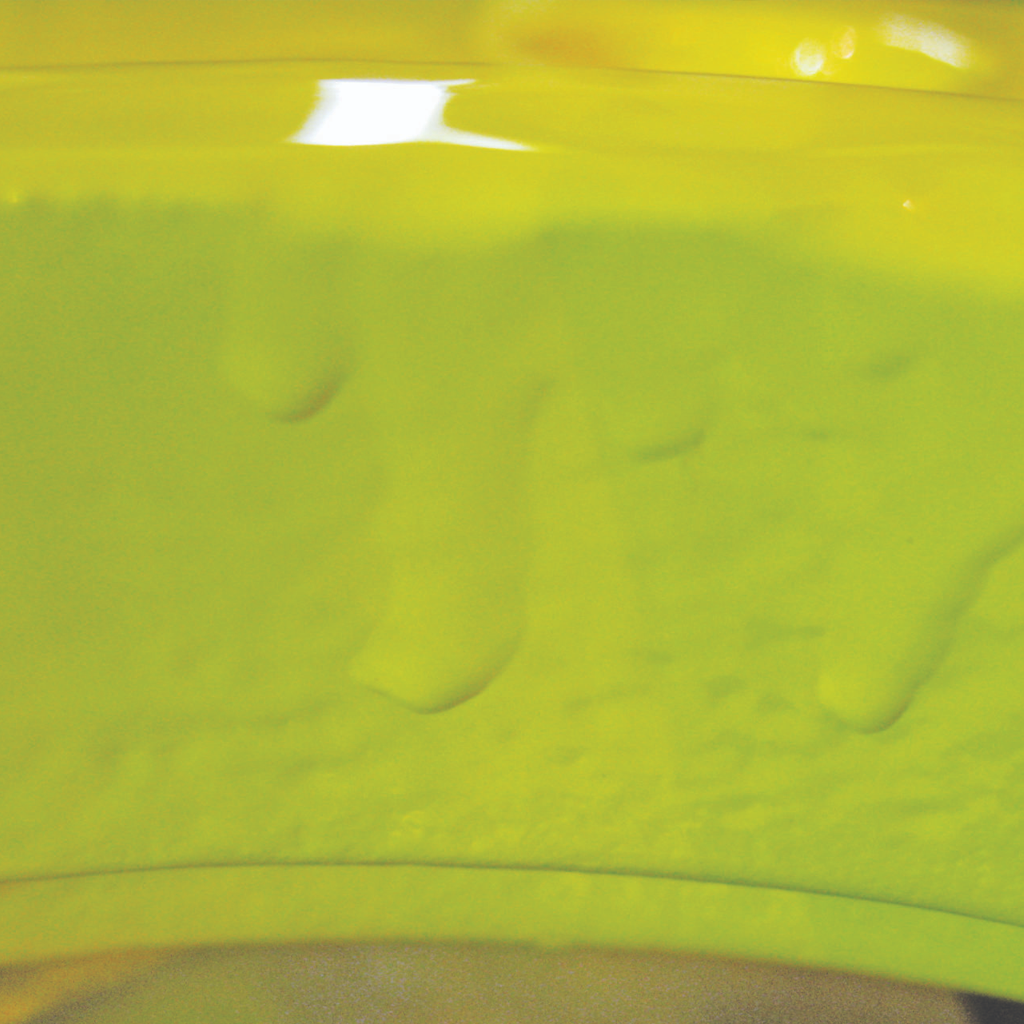
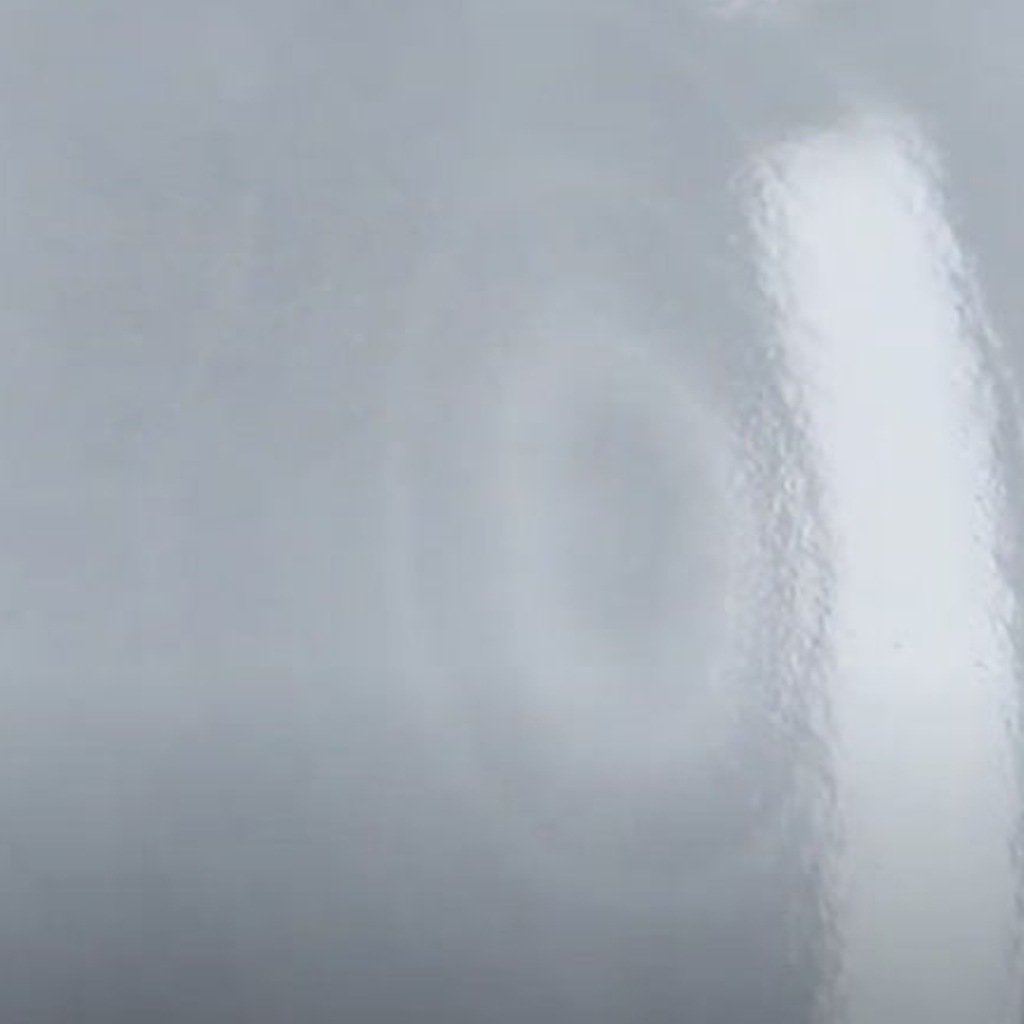
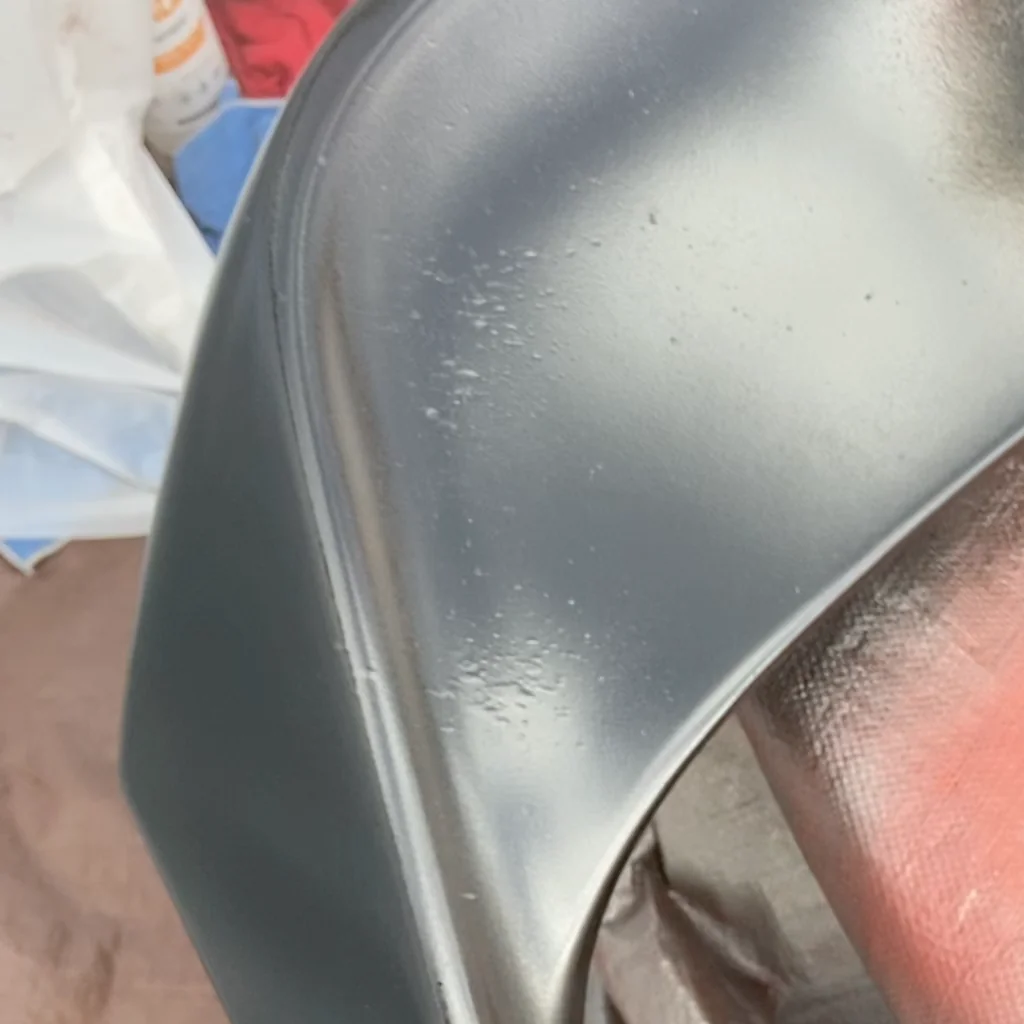
AIR ENTRAPMENT
air bubbles in paint -OR- pinhole bubbles after spraying -OR- trapped air in clear coat fix
* An example of this type of paint challenge, but not necessarily the only representation.
PAINT ISSUE:
air bubbles in paint -OR- pinhole bubbles after spraying -OR- trapped air in clear coat fix
PREVENTION:
- Allow proper flash time.
- Always use recommended air cap, nozzle, and needle for the clear coat.
- Check for proper atomization before painting.
- Maintain correct spray gun travel speed and distance (avoid spraying too close or too slowly).
- Mix and apply fillers and primers slowly to avoid whipping air.
- Note: Air entrapment can look similar to solvent pop or dust contamination; inspect defects closely to determine the true cause.
- Spray moderate coat thickness.
- Use correct spray gun settings.
TO REPAIR:
- For craters with dirt in the center, consider dust contamination as the root cause and address accordingly.
- For minor defects, sand with 1200 or finer grit, then compound and polish to restore gloss.
- If persistent, check mixing, spraying, and flash times.
- Re-prime if necessary, then repaint.
- Sand down affected area until bubbles/pinholes are gone.
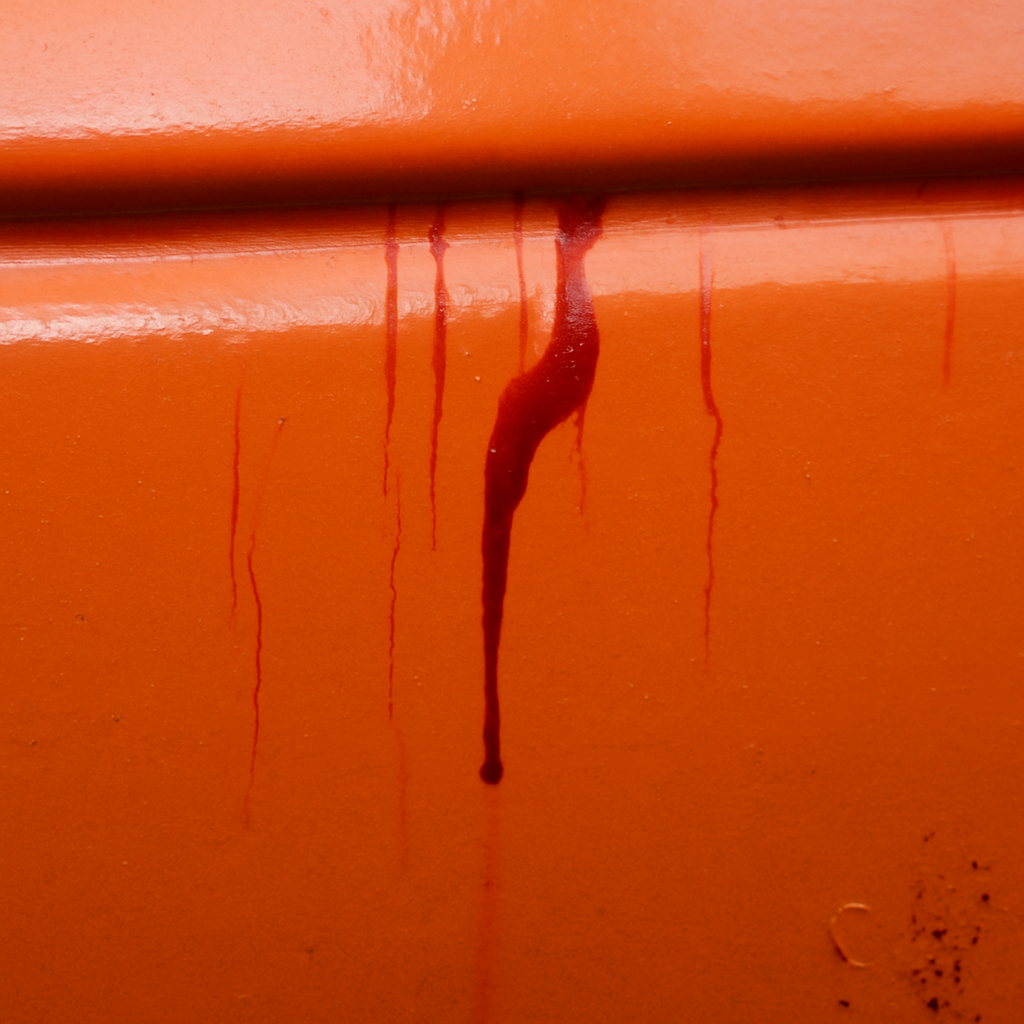
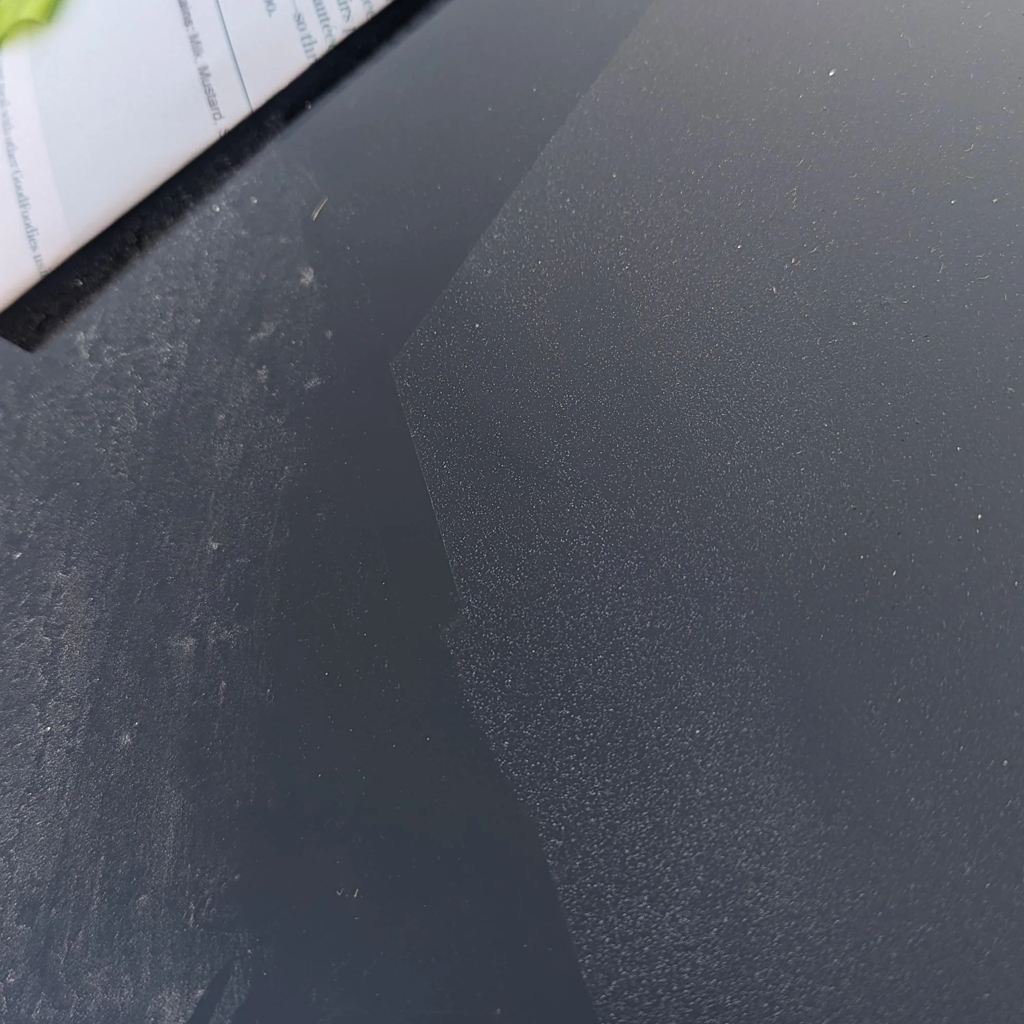
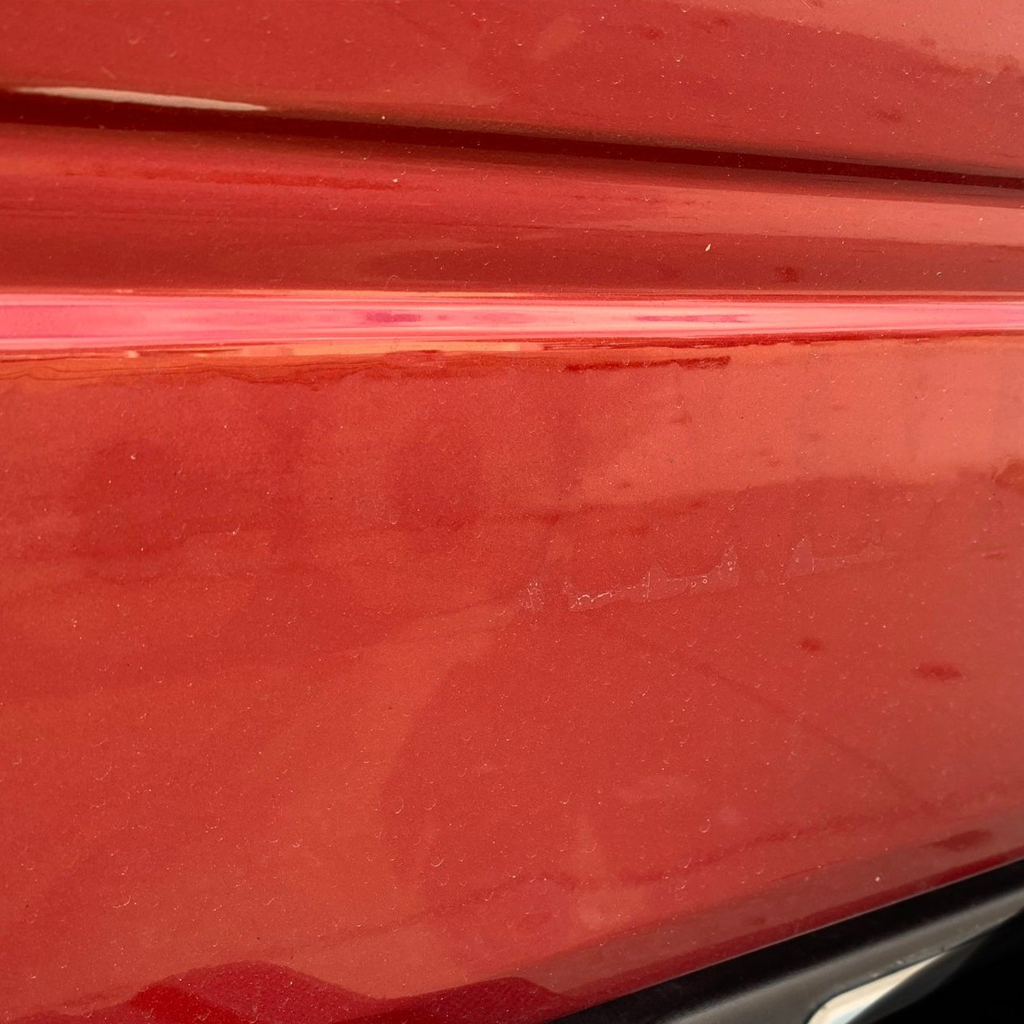
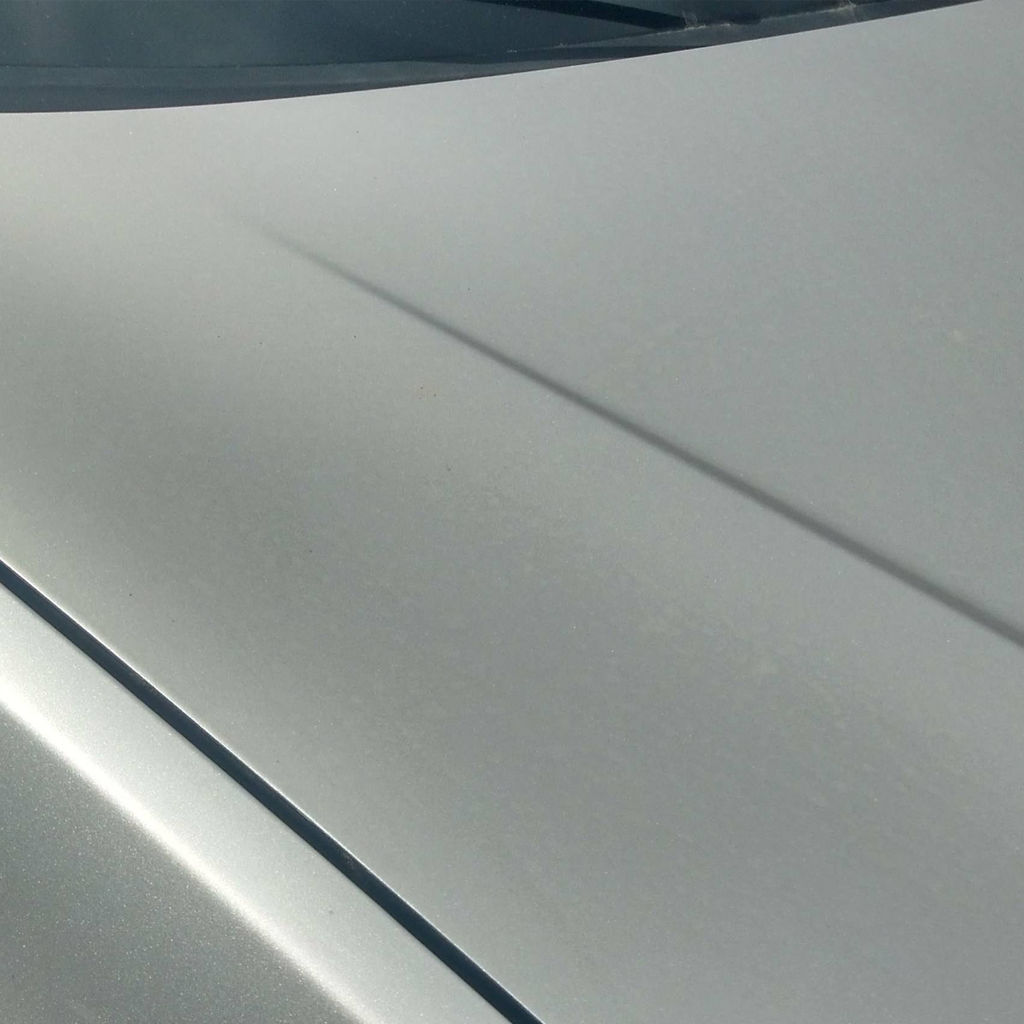
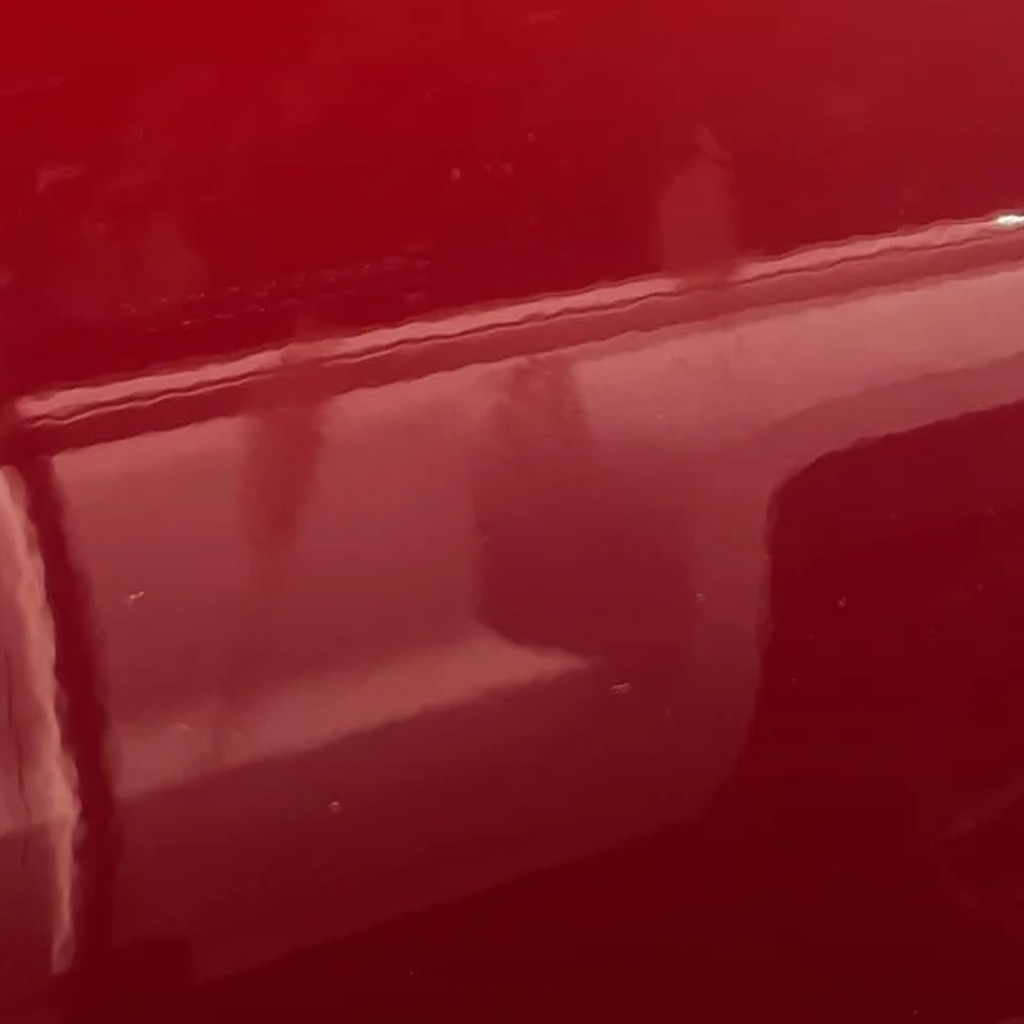
BLEEDING
color bleeding in auto refinish -OR- old paint bleeding through new paint -OR- stain coming through car paint
* An example of this type of paint challenge, but not necessarily the only representation.
PAINT ISSUE:
color bleeding in auto refinish -OR- old paint bleeding through new paint -OR- stain coming through car paint
PREVENTION:
- Avoid painting directly over stains or dye-heavy old finishes.
- Isolate potential bleed-through finishes by applying a two-component surfacer/sealer and allow to fully cure per product guidelines.
- Use a high-quality sealer or stain-blocking primer over questionable substrates or old finishes.
TO REPAIR:
- Apply a stain-blocking primer/sealer.
- If bleeding is persistent after sealer and refinish, complete removal of the original finish may be required.
- Repaint with your color coat.
- Sand off affected/stained area until below the bleed.
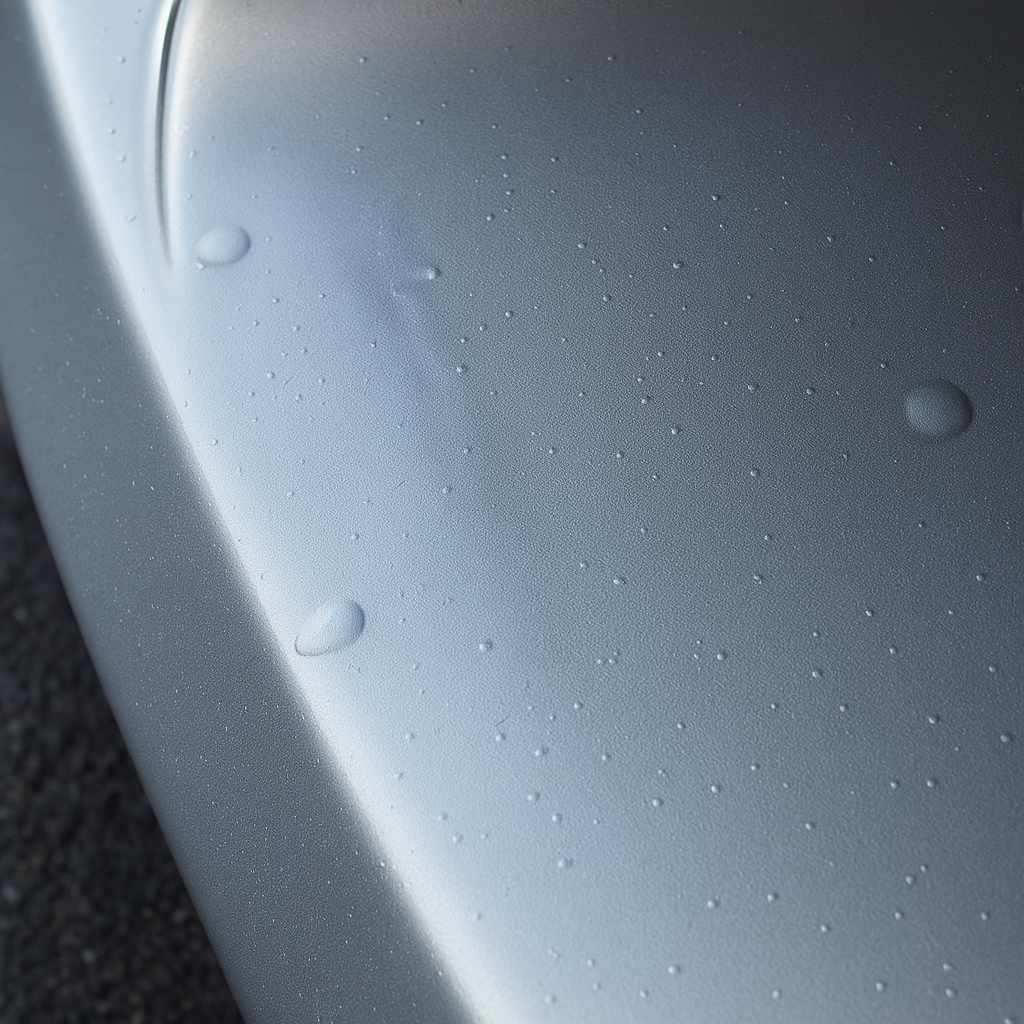
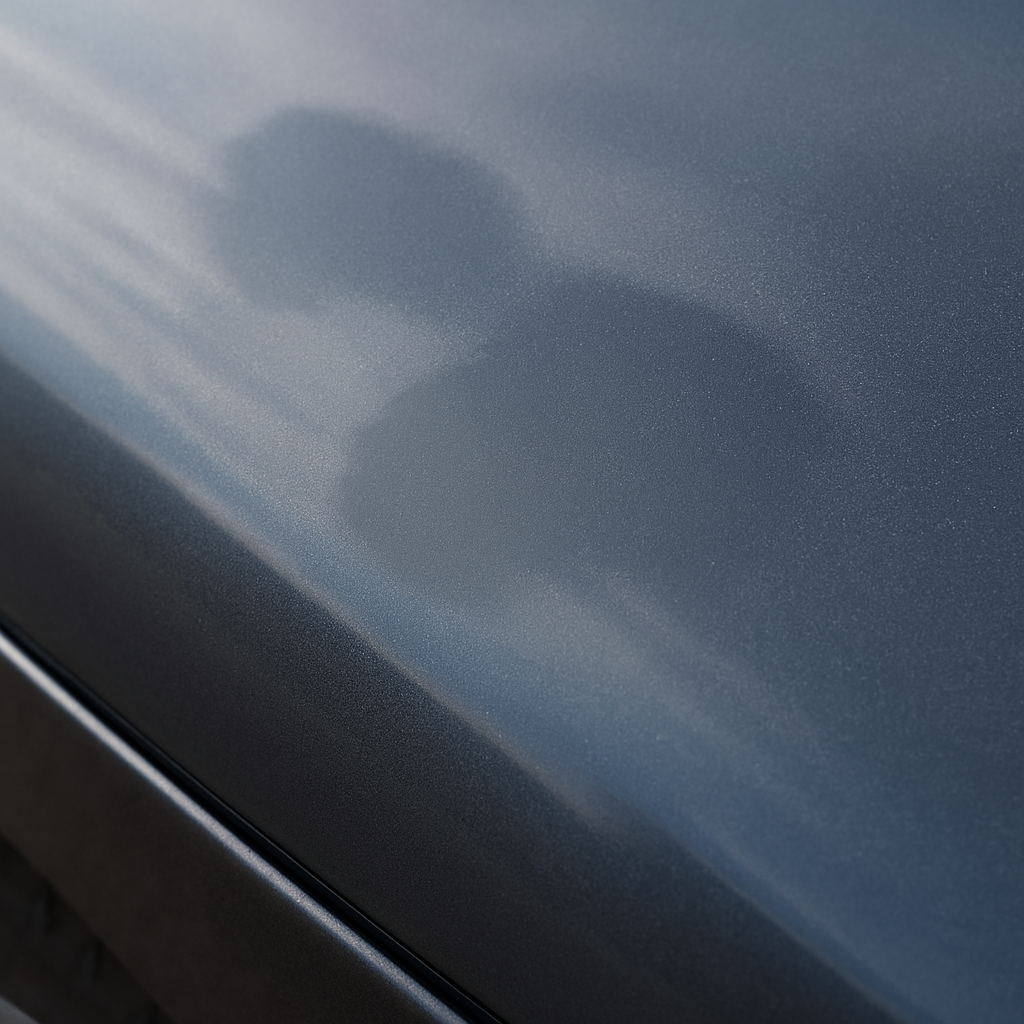
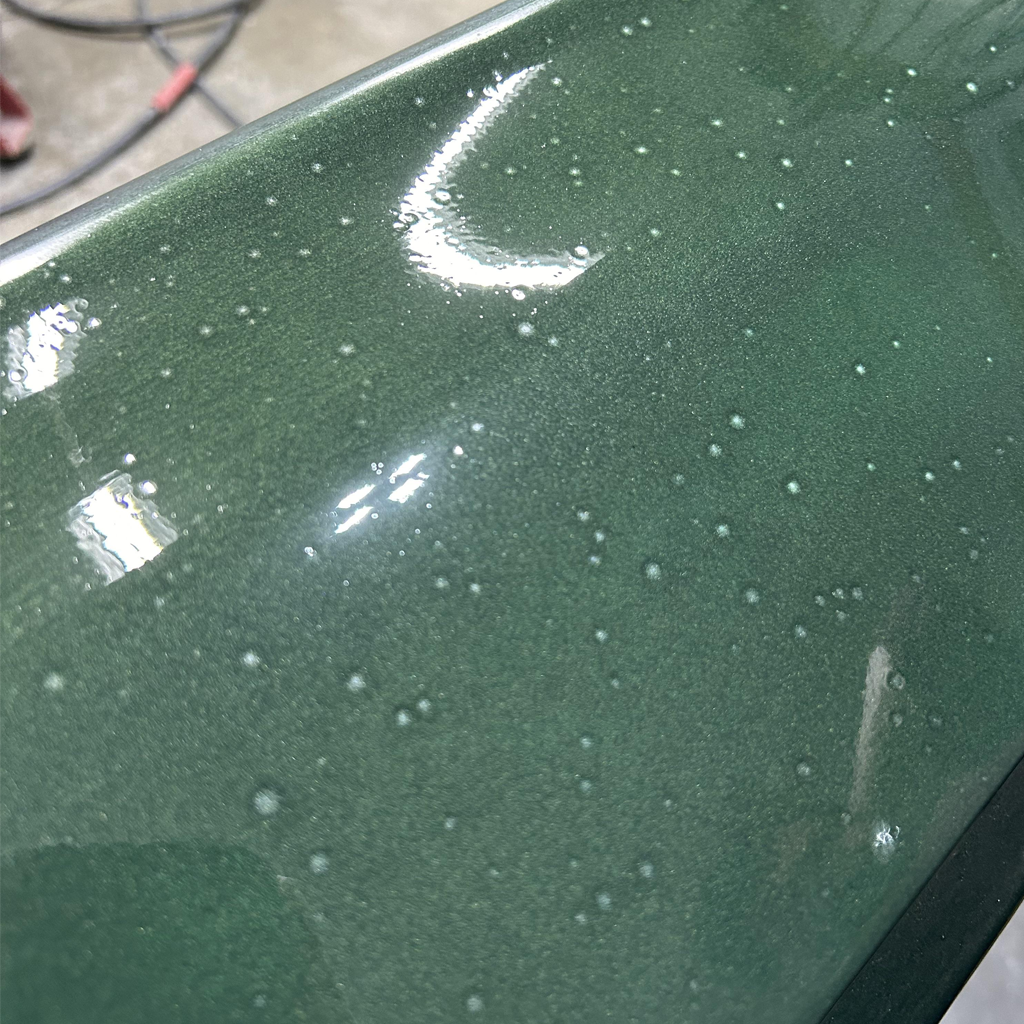
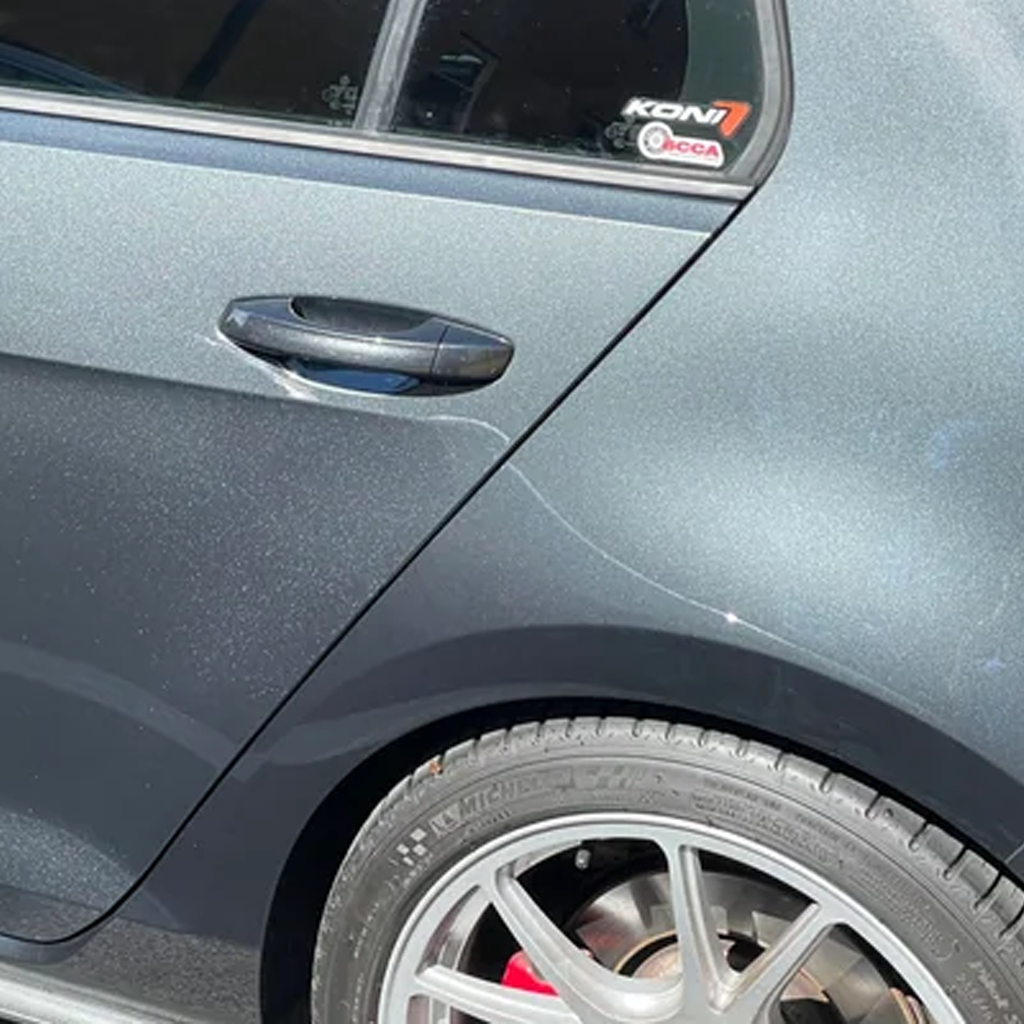
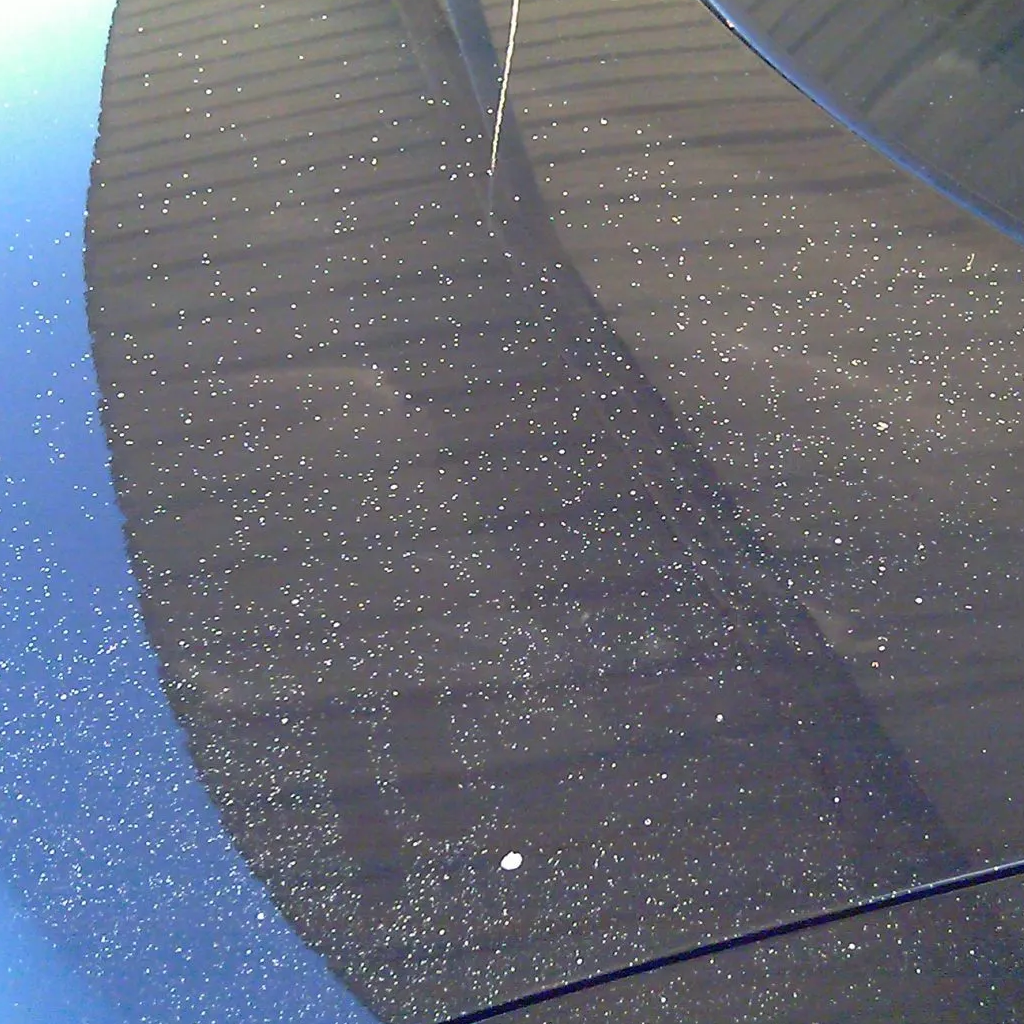
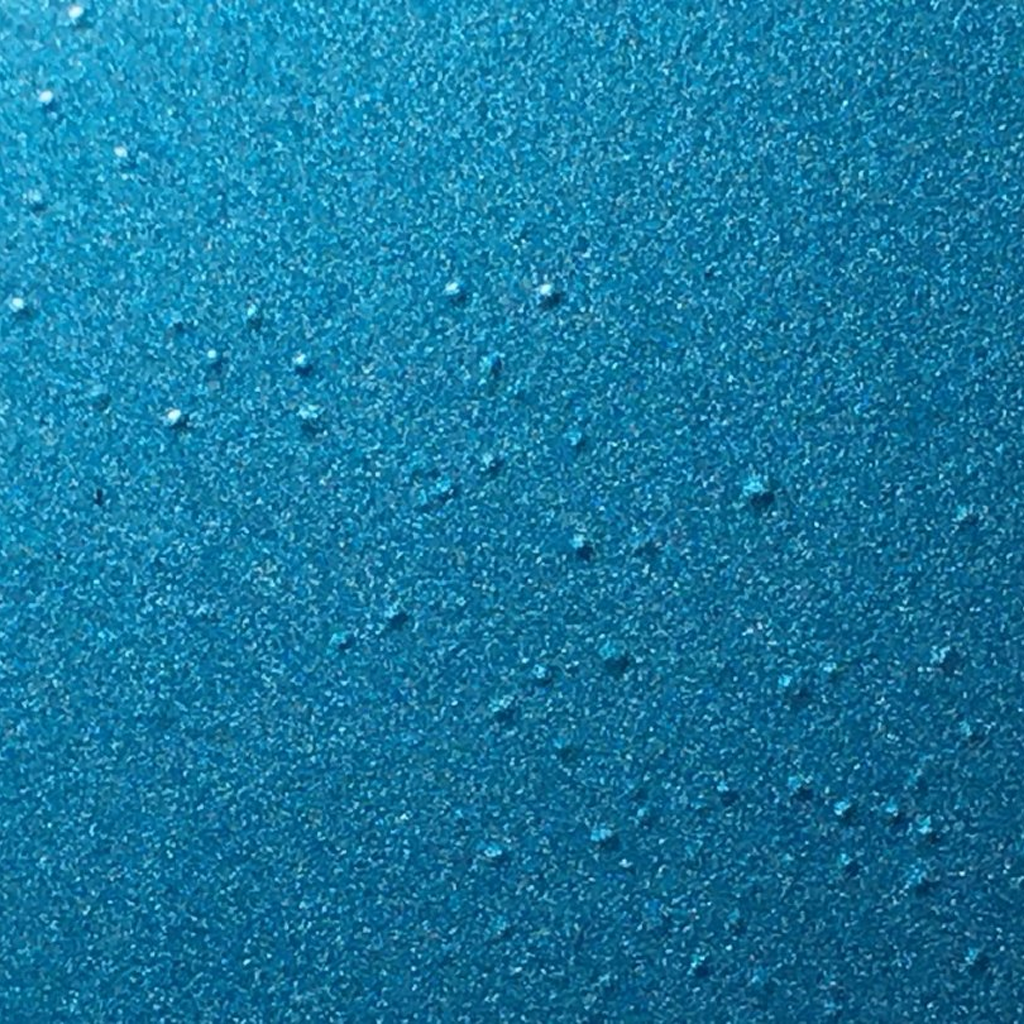
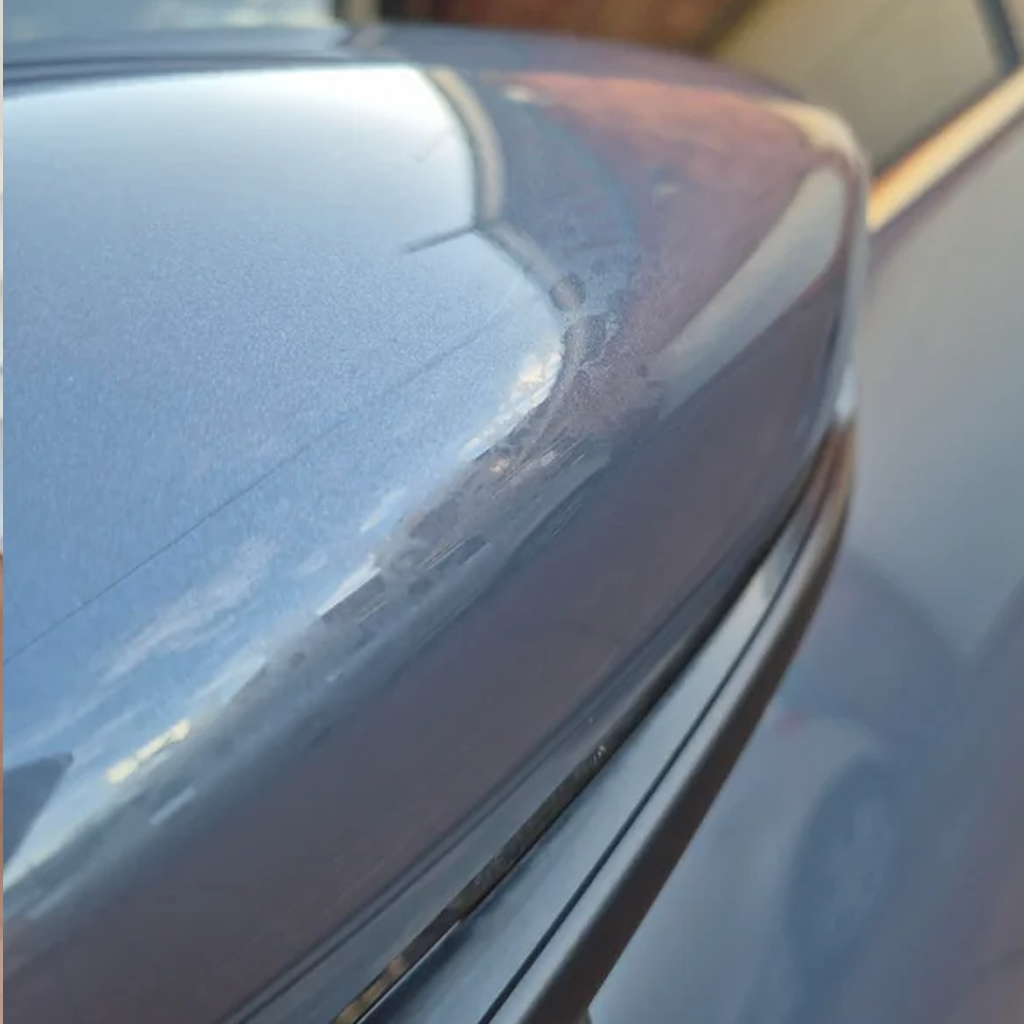
BLISTERING
bubbles in car paint after spraying -OR- paint blistering on car panel -OR- paint bubbling up after painting car
* An example of this type of paint challenge, but not necessarily the only representation.
PAINT ISSUE:
bubbles in car paint after spraying -OR- paint blistering on car panel -OR- paint bubbling up after painting car
PREVENTION:
- Add retarder or allow extra flash time in humid conditions.
- Always allow enough dry/cure time for undercoats before topcoating.
- Avoid wet sanding lacquer surfacer where possible, or allow extra dry time to let moisture escape.
- Don’t paint in high humidity or over wet surfaces.
- Ensure panels are completely dry before painting.
- Never paint over grease, oil, or rust; clean thoroughly first.
- Regularly drain compressor and air lines.
- Select thinner/reducer suited to current conditions.
- Use recommended drying times between coats.
TO REPAIR:
- Dry the area, repair as needed, and refinish.
- For severe blistering, strip all layers to the bare substrate before refinishing.
- Sand/grind out blisters to solid paint or bare metal.
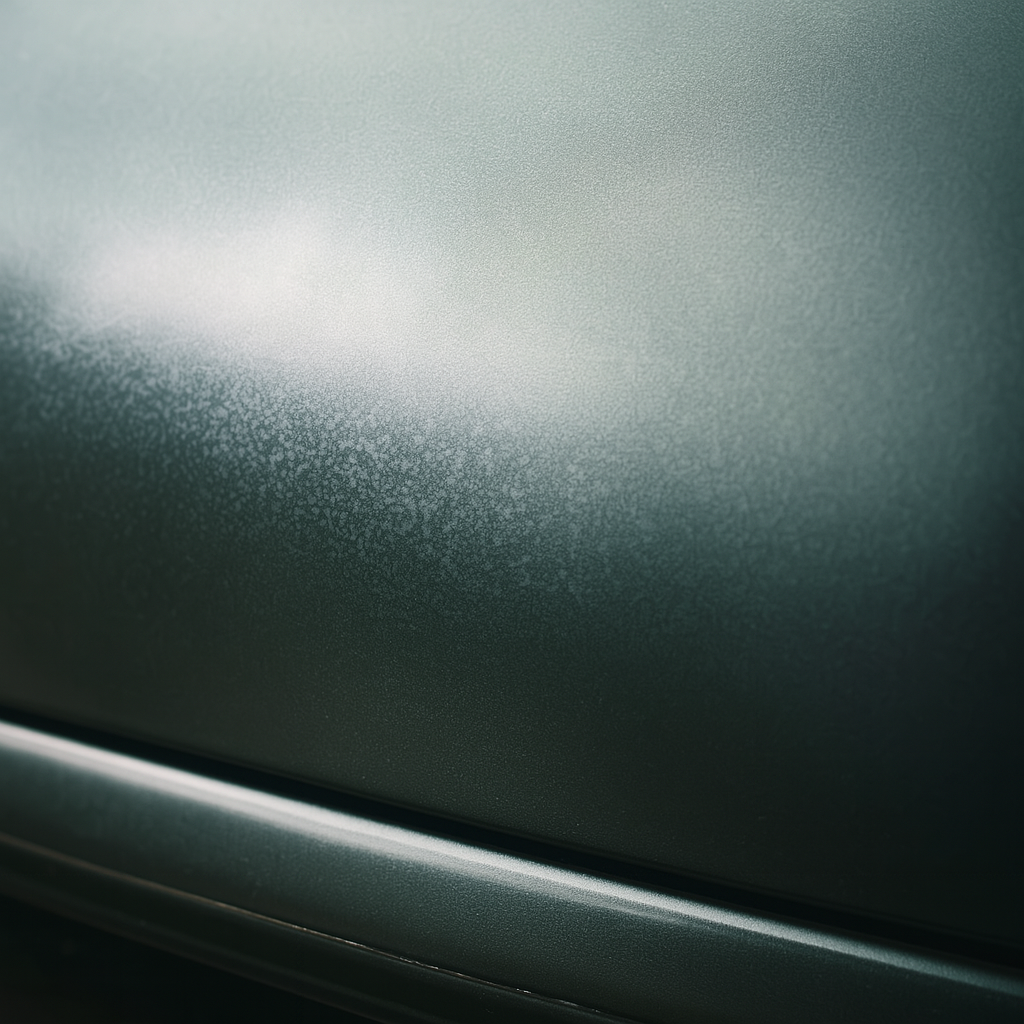
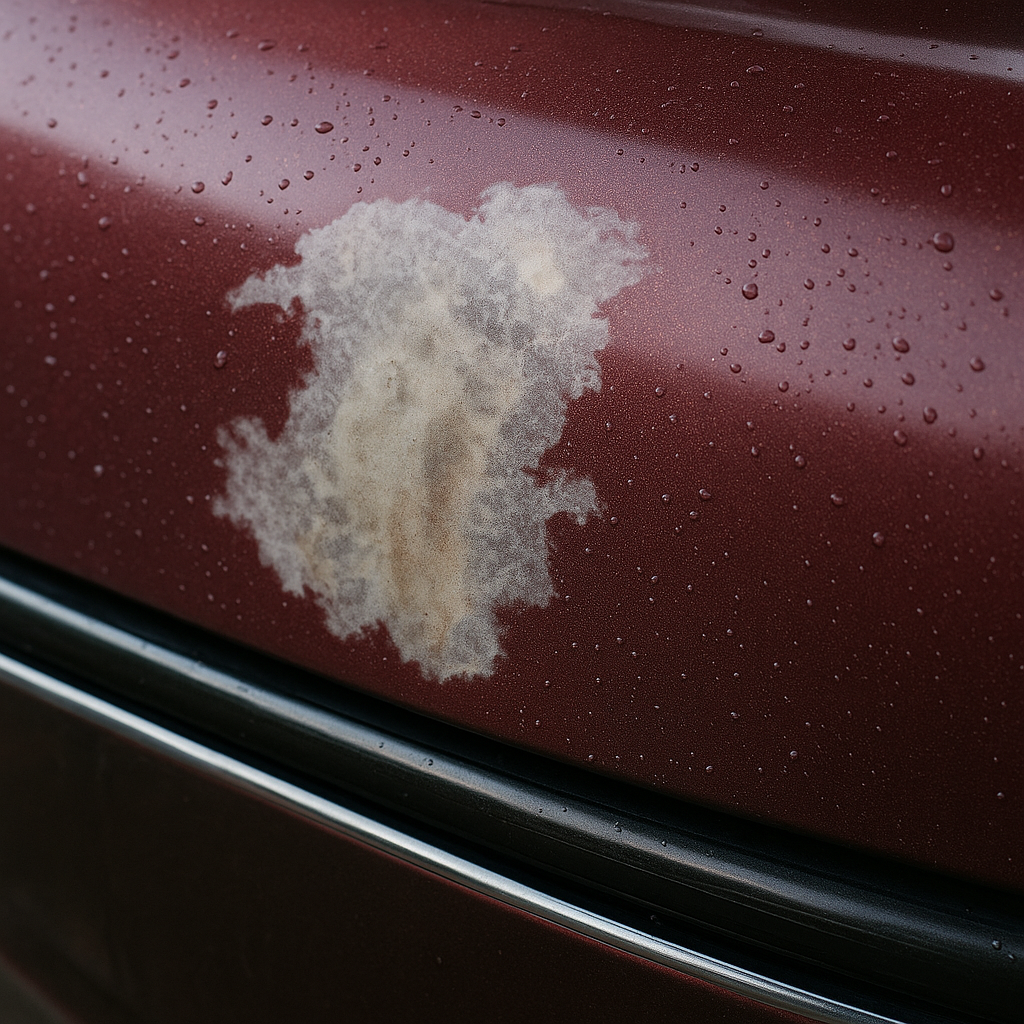
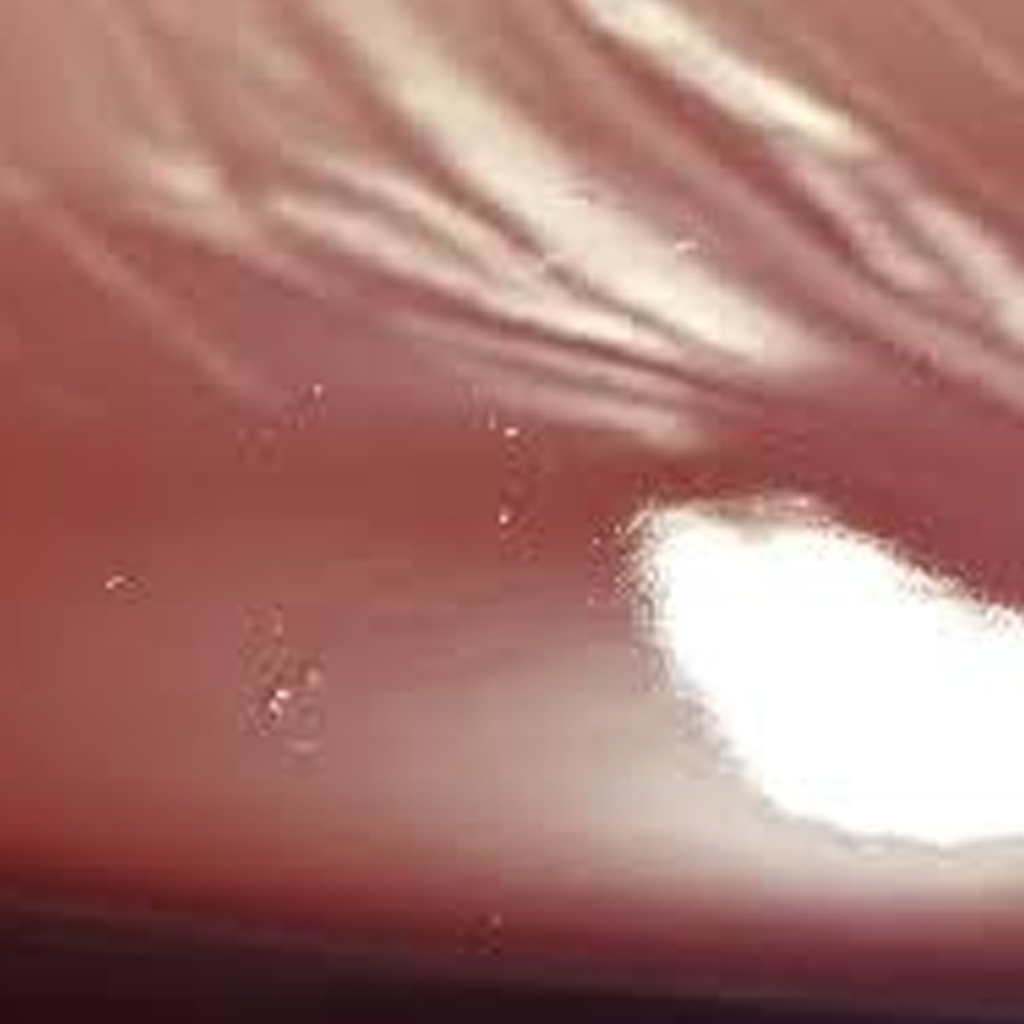
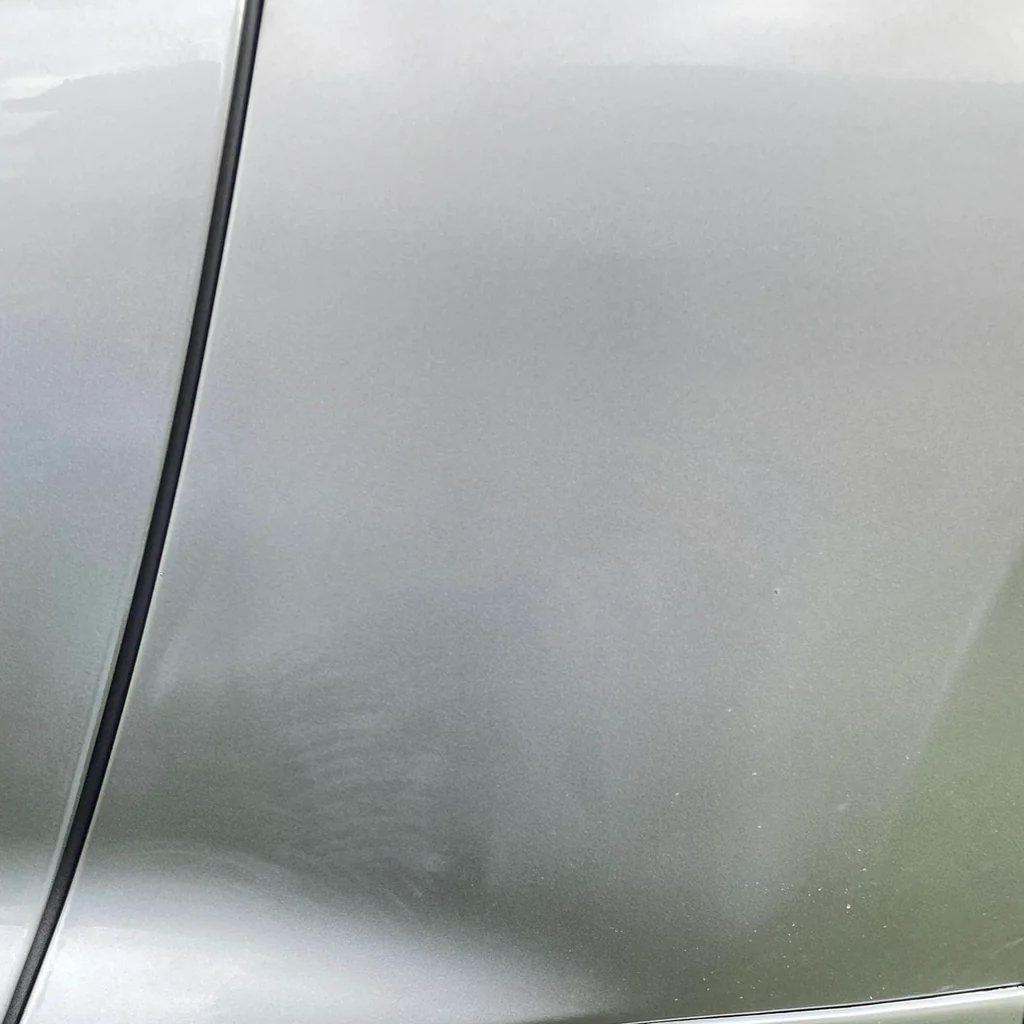
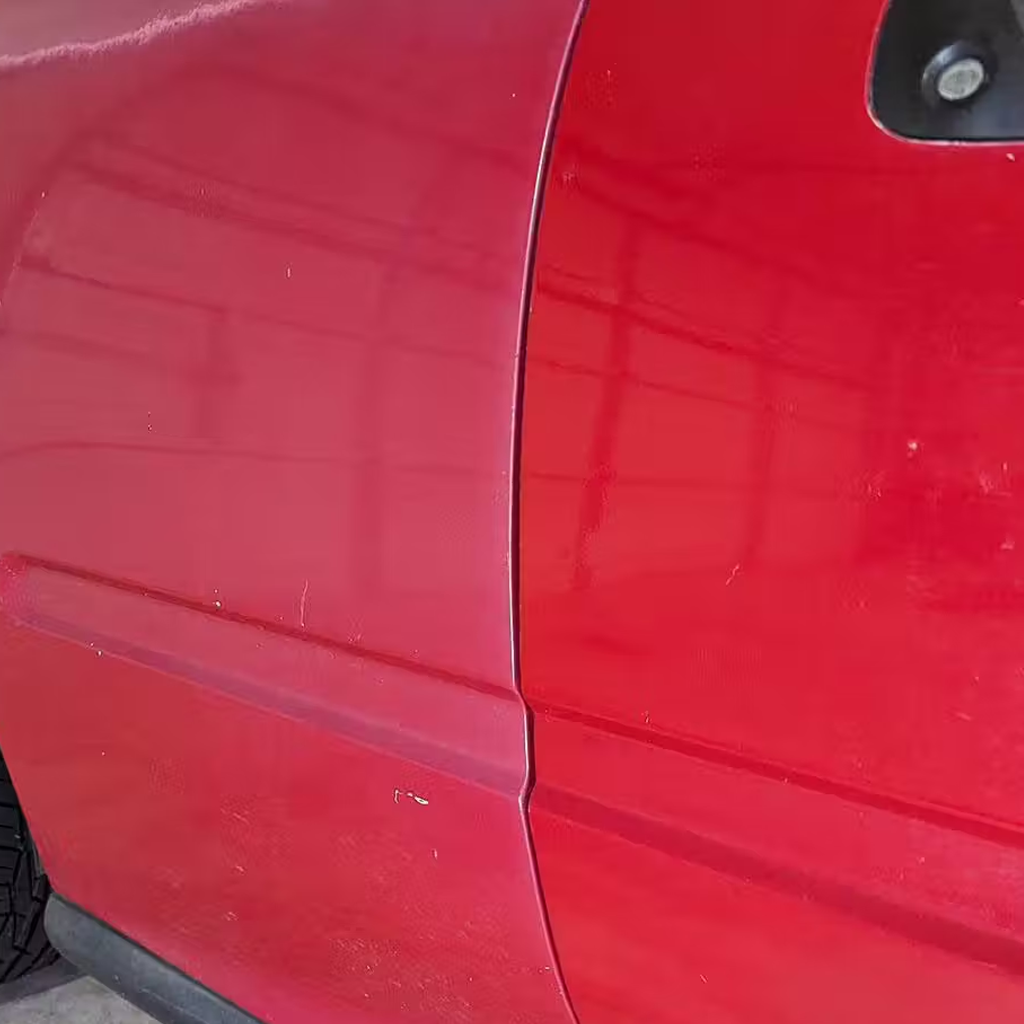
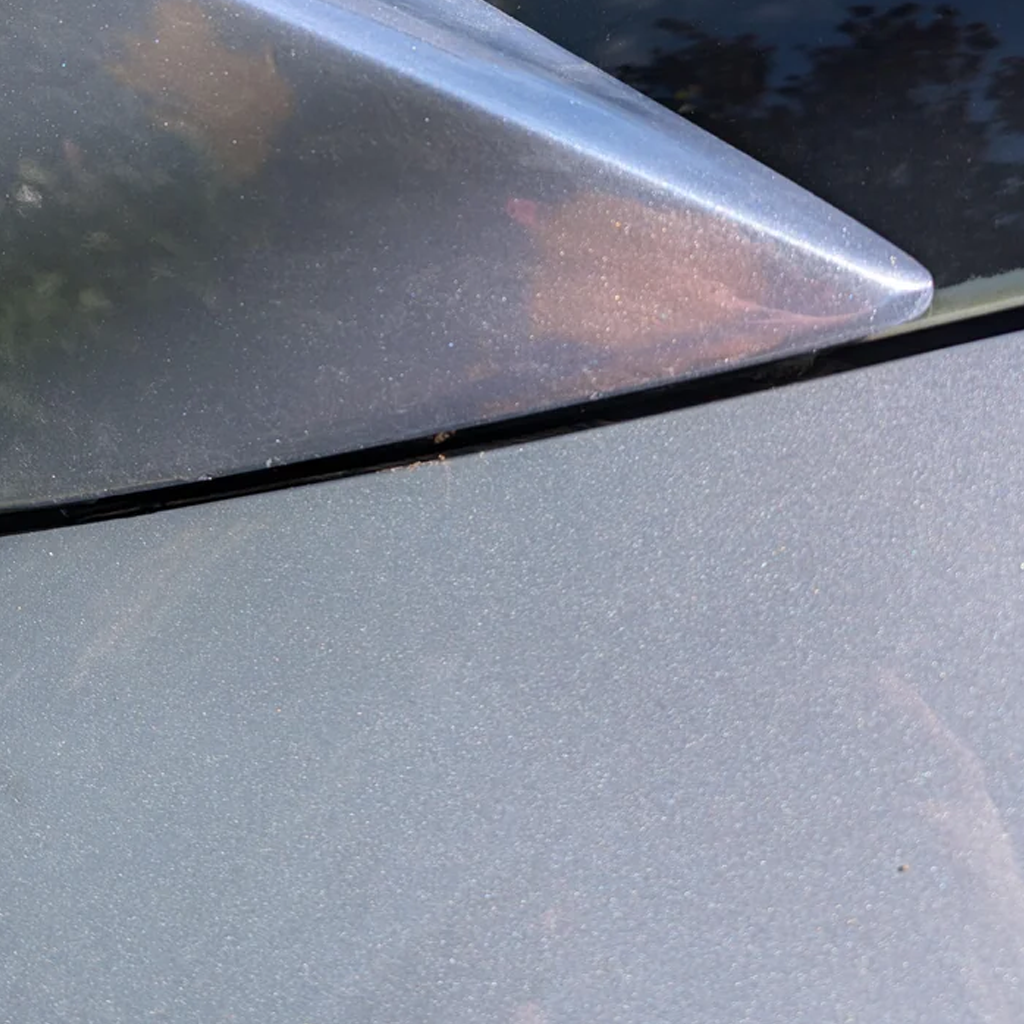
BLUSHING
milky spots in car paint -OR- paint turned cloudy after spraying -OR- white haze in fresh paint job
* An example of this type of paint challenge, but not necessarily the only representation.
PAINT ISSUE:
milky spots in car paint -OR- paint turned cloudy after spraying -OR- white haze in fresh paint job
PREVENTION:
- Add recommended amount of retarder in humid conditions.
- Always use good quality solvents.
- Apply heat after painting to evaporate moisture if needed.
- Avoid painting in high humidity or cold/damp weather.
- Let the panel warm up if you see cloudiness while spraying.
- Use a slower reducer/thinner.
TO REPAIR:
- Add retarder and apply additional coats if needed.
- Apply heat to affected area during/after application if blushing occurs.
- Heavy: Let dry, sand the cloudy area flat, and repaint.
- Light: Mist a blush remover or reducer to reflow.
CHALKING
car paint turning chalky -OR- how to fix chalky car paint -OR- paint fading to white powder
* An example of this type of paint challenge, but not necessarily the only representation.
PAINT ISSUE:
car paint turning chalky -OR- how to fix chalky car paint -OR- paint fading to white powder
PREVENTION:
- Mist/fog coats for single-stage metallics should be panel-by-panel while wet.
- Store vehicles inside or under cover.
- Thoroughly stir, shake, or agitate all paint materials before use.
- Use a high-quality, UV-resistant clear coat and topcoat.
- Use correct thinner/reducer/hardener and measure accurately.
- Wash weekly and wax/polish regularly.
- Wax and maintain finish regularly.
TO REPAIR:
- Heavy: Sand to sound paint and reapply base and clear.
- If sanding and buffing would remove excessive clear (over 0.5 mils), opt to refinish for proper UV protection.
- Light: Wash, clay, and polish.
CHEMICAL STAINING/ETCHING
acid rain stains on car -OR- chemical stains in auto paint -OR- paint etched by bird droppings
* An example of this type of paint challenge, but not necessarily the only representation.
PAINT ISSUE:
acid rain stains on car -OR- chemical stains in auto paint -OR- paint etched by bird droppings
PREVENTION:
- Avoid parking near sources of chemical fallout.
- Use a strong, resistant clear coat.
- Use basecoat/clearcoat systems for best chemical protection.
- Wash off contaminants (bird droppings, sap, bugs) ASAP; don’t let them bake in the sun.
- Wash with baking soda solution after acid rain or contamination.
TO REPAIR:
- Deep: Wet sand, buff, polish.
- If sanding/buffing removes too much clear, refinish the panel.
- Minor: Polish with cutting compound.
- Severe: Repaint panel.
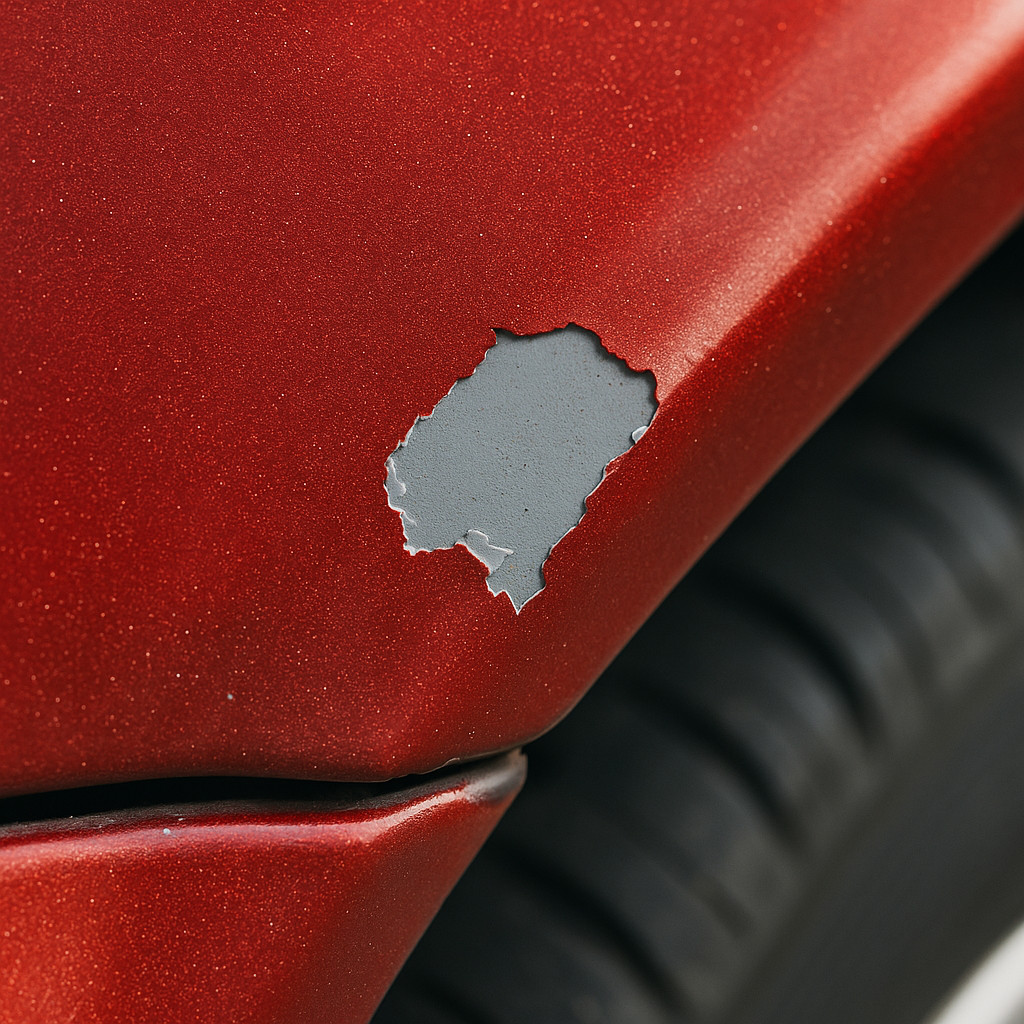
CHIPPING
how to fix paint chips on car -OR- paint chipping off hood -OR- rock chips in car paint
* An example of this type of paint challenge, but not necessarily the only representation.
PAINT ISSUE:
how to fix paint chips on car -OR- paint chipping off hood -OR- rock chips in car paint
PREVENTION:
- Advise customers to avoid gravel roads/tailgating.
- Apply clear coat at proper thickness.
- Install protective film/guards on impact zones.
- Premium two-component undercoat/topcoat offers better chip resistance.
- Use a flex agent in areas prone to chipping.
TO REPAIR:
- Clean/sand chipped area, feather edges, spot prime, repaint and clear.
- Featheredge all damaged areas for best adhesion before spot refinish.
- For lots of chips, repaint the panel.
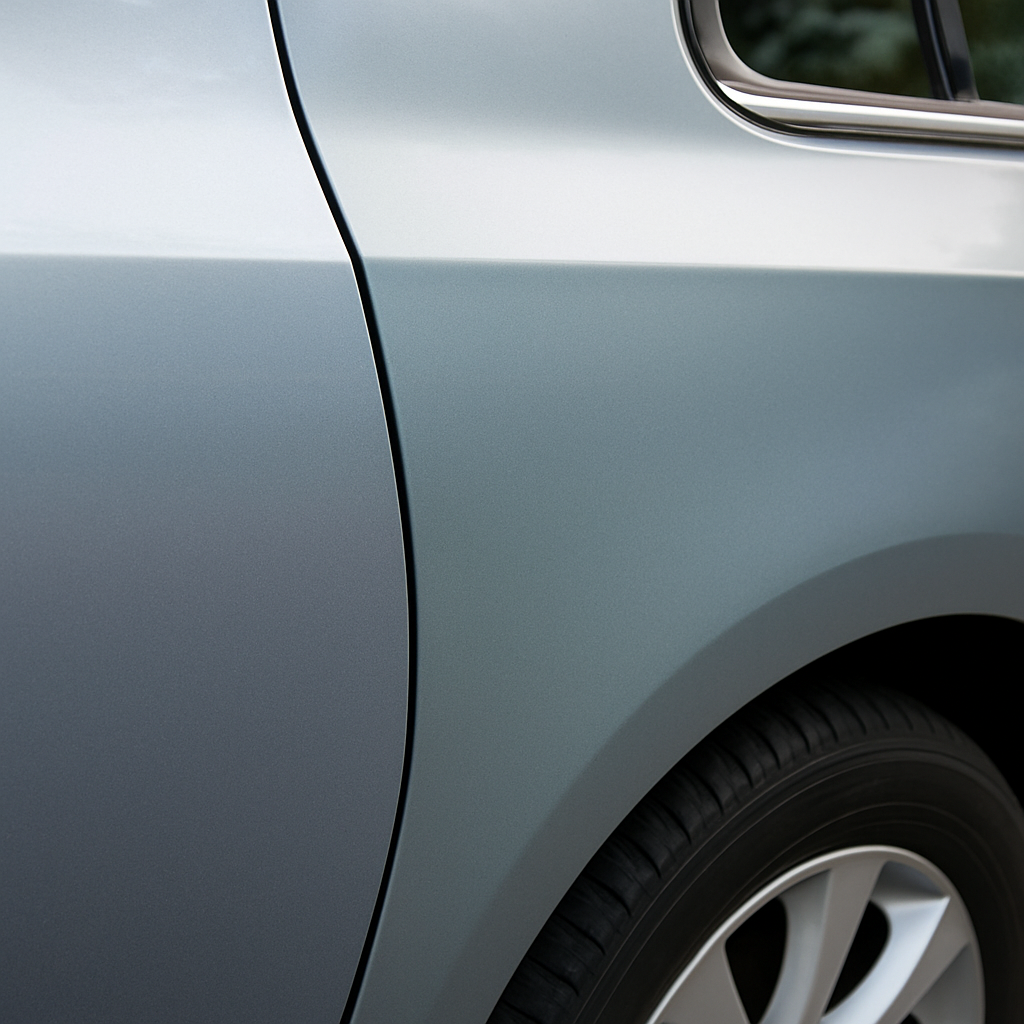
COLOR MISMATCH
car paint doesn't match -OR- paint blend looks different -OR- why is my new paint a different color
* An example of this type of paint challenge, but not necessarily the only representation.
PAINT ISSUE:
car paint doesn't match -OR- paint blend looks different -OR- why is my new paint a different color
PREVENTION:
- Always spray out and clearcoat basecoats for evaluation.
- Blend into adjacent panels.
- Check alternate color selector for variances.
- Follow product label for spray gun, nozzle, and air cap.
- Mix paint thoroughly.
- Spray a test card and compare in daylight before spraying.
- Stir/shake materials thoroughly to ensure all pigments and metallics are in solution.
- Use natural daylight or color-corrected lights for matching.
- View all colors under equal gloss.
TO REPAIR:
- Blend color into adjacent panels if close enough, or tint and respray if necessary.
- Sand/blend color into adjacent panels, or respray for better match.
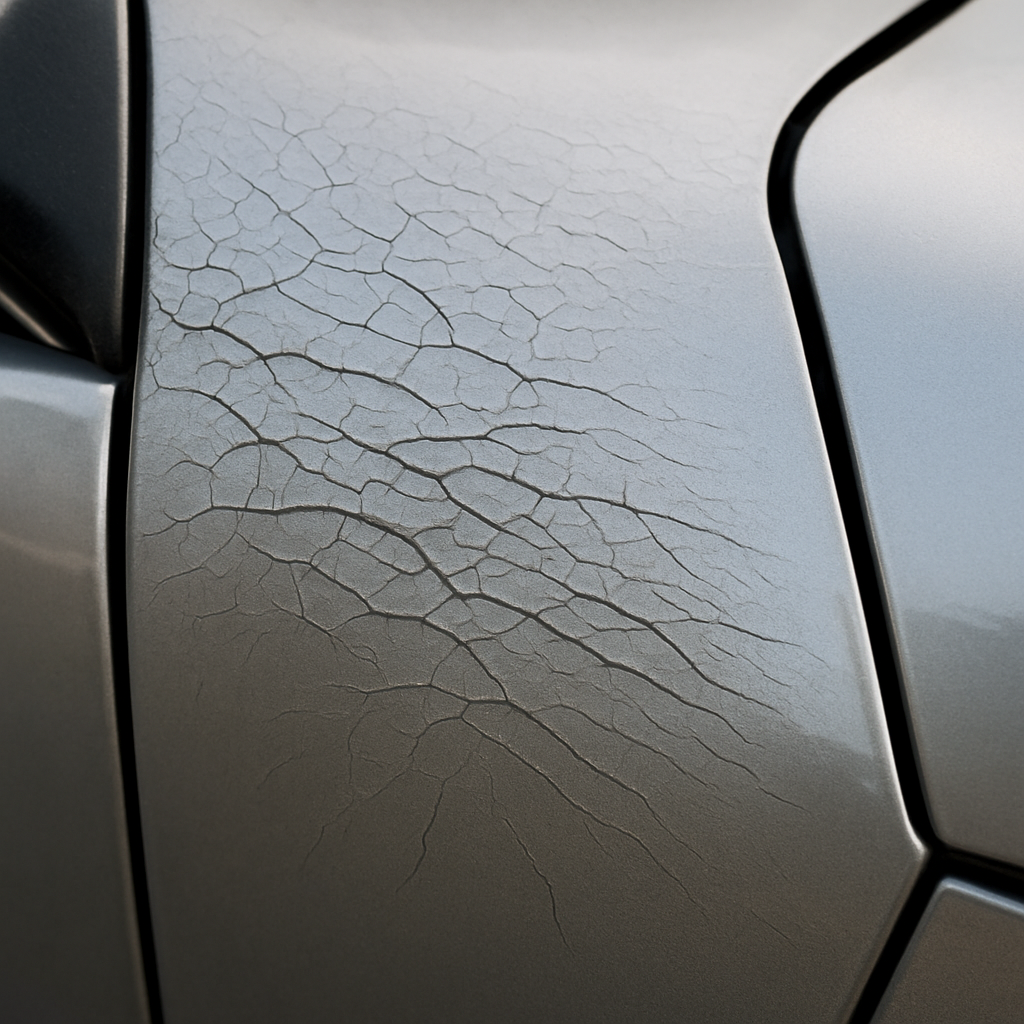
CRACKING / CROWS FEET
cracks in car paint -OR- crows feet in paint job -OR- spiderweb cracks in clear coat
* An example of this type of paint challenge, but not necessarily the only representation.
PAINT ISSUE:
cracks in car paint -OR- crows feet in paint job -OR- spiderweb cracks in clear coat
PREVENTION:
- Apply all materials per label direction.
- Don’t apply too much paint or use incompatible materials.
- Don’t force dry undercoats by fanning with spray gun air.
- Follow recommended recoating windows.
- Fully cure coats before recoating.
- Ground vehicle or panel using a wire or anti-static strap during spray.
- Maintain correct humidity in booth; avoid very dry conditions that increase static.
- Mix ingredients thoroughly, use recommended additives, follow ratios.
- Remove crazed/cracked finishes before refinishing.
- Use anti-static wipes or tack cloths before painting, especially on plastic or fiberglass parts.
- Use ionizing air guns or anti-static blowers if available.
- Use premium two-component undercoat and topcoat system.
- Use recommended thinner/reducer/hardener and measure accurately.
- Wear anti-static gloves and avoid synthetic clothing during prep.
TO REPAIR:
- For severe or embedded contamination, sand and repaint affected area.
- Re-prime and repaint with compatible products.
- Strip all cracked paint to a stable base or bare substrate.
- Wet sand with 1500–2000 grit to remove dirt nibs, then compound and polish.
DIEBACK
clear coat went dull after painting -OR- hazy finish after paint job -OR- paint lost shine after drying
* An example of this type of paint challenge, but not necessarily the only representation.
PAINT ISSUE:
clear coat went dull after painting -OR- hazy finish after paint job -OR- paint lost shine after drying
PREVENTION:
- Adjust gun settings for proper atomization; test on spray-out card if needed.
- Avoid spraying in windy, drafty, or very dry environments.
- Clean spray gun tip frequently, especially with fast-drying or high-solid clears.
- Strain materials before pouring into cup.
- Use recommended viscosity and thinner for conditions and product.
TO REPAIR:
- After full cure, wet sand stringy areas flat and polish to restore gloss.
- If stringing is severe or finish is uneven, sand and refinish with proper technique.
DUST CONTAMINATION
dust in paint after spraying -OR- how to remove dirt from car paint -OR- nibs in car paint job
* An example of this type of paint challenge, but not necessarily the only representation.
PAINT ISSUE:
dust in paint after spraying -OR- how to remove dirt from car paint -OR- nibs in car paint job
PREVENTION:
- Clean and maintain spray equipment.
- Clean spray booth and panels, use tack cloths, wear clean coveralls, wet the booth floor to keep dust down.
- Install proper air filters.
- Keep vehicle in clean environment until finish is dust-free.
- Maintain a clean working area.
- Repair/replace defective air lines.
- Thoroughly blow off around windows, doors, jambs, etc.
- Use quality masking materials.
- Wear lint-free paint suit.
TO REPAIR:
- For dust encapsulated during drying, sanding and polishing usually removes it unless it's solvent pop (pinholes remain after sanding).
- Severe: sand and respray.
- Wet sand with fine paper to remove nibs, then buff/polish.
EDGE MAPPING / FRAMING
blending edge visible after painting -OR- outline of repair showing in paint -OR- picture frame effect in paint repair
* An example of this type of paint challenge, but not necessarily the only representation.
PAINT ISSUE:
blending edge visible after painting -OR- outline of repair showing in paint -OR- picture frame effect in paint repair
PREVENTION:
- Avoid sanding through insoluble topcoat color or clear to solvent-sensitive or soluble finishes.
- Blend base and clear coats past the repair edge.
- Drain compressor, lines, and water separators daily or per use.
- Feather sand repair edges gradually; don’t leave sharp edges or steps.
- Install oil/water traps and air dryers on all compressor lines feeding the booth and guns.
- Never use old hoses previously used for mechanics or with oil tools.
- Replace air lines and fittings if oil or water contamination is detected.
- Store spray guns and air tools in clean, dust-free environment.
- Use primer-surfacer over repair areas and sand smooth before topcoat.
TO REPAIR:
- If caught wet, remove with solvent, clean thoroughly, and refinish.
- If dried, sand out fisheyes, clean thoroughly, and respray.
- Sand out visible edges, feather and blend, prime if needed, and repaint.
- Use fisheye eliminator additive in color or clear only if unavoidable, never in undercoats.
FEATHER EDGE SWELLING
feather edge swelling in paint -OR- paint sinks where sanded -OR- repair lines showing after painting
* An example of this type of paint challenge, but not necessarily the only representation.
PAINT ISSUE:
feather edge swelling in paint -OR- paint sinks where sanded -OR- repair lines showing after painting
PREVENTION:
- Allow all undercoats to fully cure before topcoating.
- Avoid recoating over soft or solvent-sensitive finishes.
- Use recommended primer/surfacer and proper sanding technique.
TO REPAIR:
- Allow to cure, sand smooth, prime, and repaint.
FISHEYES (INCLUDING AIR LINE CONTAMINATION)
craters in clear coat -OR- fisheyes in car paint -OR- oil in airline causing paint defects
* An example of this type of paint challenge, but not necessarily the only representation.
PAINT ISSUE:
craters in clear coat -OR- fisheyes in car paint -OR- oil in airline causing paint defects
PREVENTION:
- Clean and degrease all surfaces thoroughly before painting.
- Don’t use silicone-based products near the paint area.
- Drain compressor and air lines regularly.
- Install an air filtering system to remove oil and moisture from supply.
- Install oil/water traps and air dryers on compressor lines.
- Maintain air supply by draining, cleaning, and changing filters regularly.
- Never use old hoses that have been used for mechanical work.
- Use fisheye eliminator additive only if the problem is persistent.
TO REPAIR:
- Add fisheye eliminator and respray if needed.
- Let the paint dry, sand out the craters, clean the area, and repaint.
- Remove wet paint with solvent and refinish if caught immediately.
- Sand out affected area, clean thoroughly, and refinish.
- Use fisheye eliminator additive as needed.
GHOSTING
ghost lines in car paint -OR- old repair showing through paint -OR- shadow marks under new paint
* An example of this type of paint challenge, but not necessarily the only representation.
PAINT ISSUE:
ghost lines in car paint -OR- old repair showing through paint -OR- shadow marks under new paint
PREVENTION:
- Allow all coats full flash and cure times before exposure to cold or moisture.
- Apply clear or topcoat in thin, even coats; do not pile on heavy coats in humid weather.
- Avoid painting during periods of very high humidity; wait for better conditions or use booth dehumidifier.
- Use only the recommended hardener and thinner for the temperature and humidity.
TO REPAIR:
- For light cases, polish out haze or streaks after full cure.
- For severe bloom, sand affected area and reapply clear/topcoat.
- If gloss does not return, wet sand with 2000 grit and re-polish.
HARDENER BLOOM
cloudy clear coat from humidity -OR- milky haze in clear after rain -OR- white streaks in clear coat after painting
* An example of this type of paint challenge, but not necessarily the only representation.
PAINT ISSUE:
cloudy clear coat from humidity -OR- milky haze in clear after rain -OR- white streaks in clear coat after painting
PREVENTION:
- Allow full flash and cure times.
- Avoid painting during very high humidity.
- Use recommended hardener and thinner for ambient humidity.
TO REPAIR:
- Light cases: Polish out after full cure.
- Severe: Sand and refinish.
LIFTING
old paint lifting when recoating -OR- paint shrivels after new coat -OR- wrinkles in new paint
* An example of this type of paint challenge, but not necessarily the only representation.
PAINT ISSUE:
old paint lifting when recoating -OR- paint shrivels after new coat -OR- wrinkles in new paint
PREVENTION:
- Test questionable finishes with a lacquer-thinner soaked rag; if the old finish softens, isolate or use a specialty sealer.
- Use compatible products and avoid aggressive solvents.
- Wait the recommended time before recoating; especially when spraying lacquer or base over an enamel or old finish.
TO REPAIR:
- Remove all lifted or wrinkled paint, feather the edges, re-prime and repaint.
LOSS OF GLOSS
car paint dulls as it dries -OR- clear coat never got glossy -OR- paint lost shine after curing
* An example of this type of paint challenge, but not necessarily the only representation.
PAINT ISSUE:
car paint dulls as it dries -OR- clear coat never got glossy -OR- paint lost shine after curing
PREVENTION:
- Allow all coatings sufficient flash between coats.
- Allow enough time for the finish to fully cure.
- Apply enough coats to achieve proper film thickness.
- Apply the topcoat according to label, with recommended gun setup and air pressure.
- Avoid moisture or cold during drying.
- Use fresh, well-mixed clear coat and hardener, and apply at the right temperature.
- Use premium systems for best durability and gloss.
TO REPAIR:
- Light loss: Machine polish with a quality compound.
- Severe: Sand, re-clear coat, and polish.
METALLIC DROPOUT
heavy flakes in spots in metallic finish -OR- metallic paint looks blotchy -OR- uneven metallic flake in paint
* An example of this type of paint challenge, but not necessarily the only representation.
PAINT ISSUE:
heavy flakes in spots in metallic finish -OR- metallic paint looks blotchy -OR- uneven metallic flake in paint
PREVENTION:
- Agitate metallic paint thoroughly before and during use.
- Spray with even overlap and gun distance.
- Use recommended reducer and spray technique.
TO REPAIR:
- Sand out affected area, respray with proper technique and overlap.
MOTTLING
blotchy paint finish -OR- streaky metallic paint -OR- uneven color in car paint
* An example of this type of paint challenge, but not necessarily the only representation.
PAINT ISSUE:
blotchy paint finish -OR- streaky metallic paint -OR- uneven color in car paint
PREVENTION:
- Apply low-pressure mist coats as directed; let basecoat flash before clear.
- Follow the paint manufacturer’s technique for blending and drop coats.
- Maintain proper distance and overlap, and use the right reducer for conditions.
- Spray metallic or pearl coats with a consistent, even gun motion.
TO REPAIR:
- Sand affected area with fine grit, respray using even, controlled passes.
ORANGE PEEL
bumpy clear coat after painting -OR- orange peel in car paint -OR- why does my paint look like orange peel
* An example of this type of paint challenge, but not necessarily the only representation.
PAINT ISSUE:
bumpy clear coat after painting -OR- orange peel in car paint -OR- why does my paint look like orange peel
PREVENTION:
- Adjust spray gun (pressure, tip size) for the paint being used.
- Always adjust spray pattern and overlap for best flow.
- Apply coats evenly and avoid holding the gun too far from the panel.
- Avoid heavy coats and excessive film thickness.
- Select proper reduction ratio and spray at recommended air pressure.
- Use the correct viscosity (thin if necessary).
TO REPAIR:
- Severe: Sand flat, respray clear.
- Wet sand with 1200–2000 grit, then compound and polish.
OVER-SPRAY ROUGHNESS
how to remove overspray from paint -OR- overspray on car paint -OR- rough texture after painting car
* An example of this type of paint challenge, but not necessarily the only representation.
PAINT ISSUE:
how to remove overspray from paint -OR- overspray on car paint -OR- rough texture after painting car
PREVENTION:
- Agitate and mix metallic paint thoroughly before and during use; use mechanical shaker if possible.
- Avoid heavy or wet coats that allow flakes to settle.
- Do not allow basecoat to dry too long before clear.
- Spray with even overlap, correct gun distance, and moderate air pressure.
- Use only recommended reducer and spray technique for metallics.
TO REPAIR:
- Blend into adjacent panels if needed for uniform metallic effect.
- Reapply basecoat with proper mixing and spraying technique.
- Sand out blotchy or dropout areas with 1500 grit.
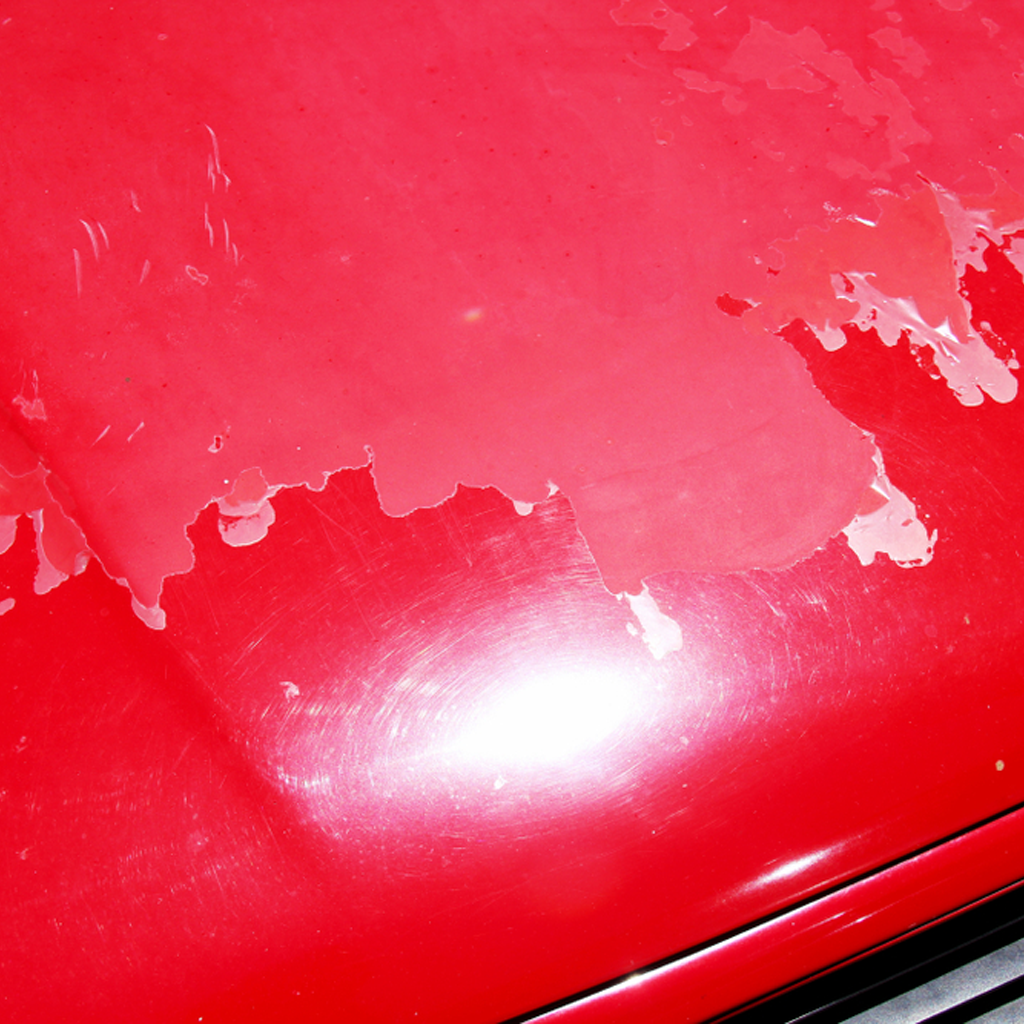
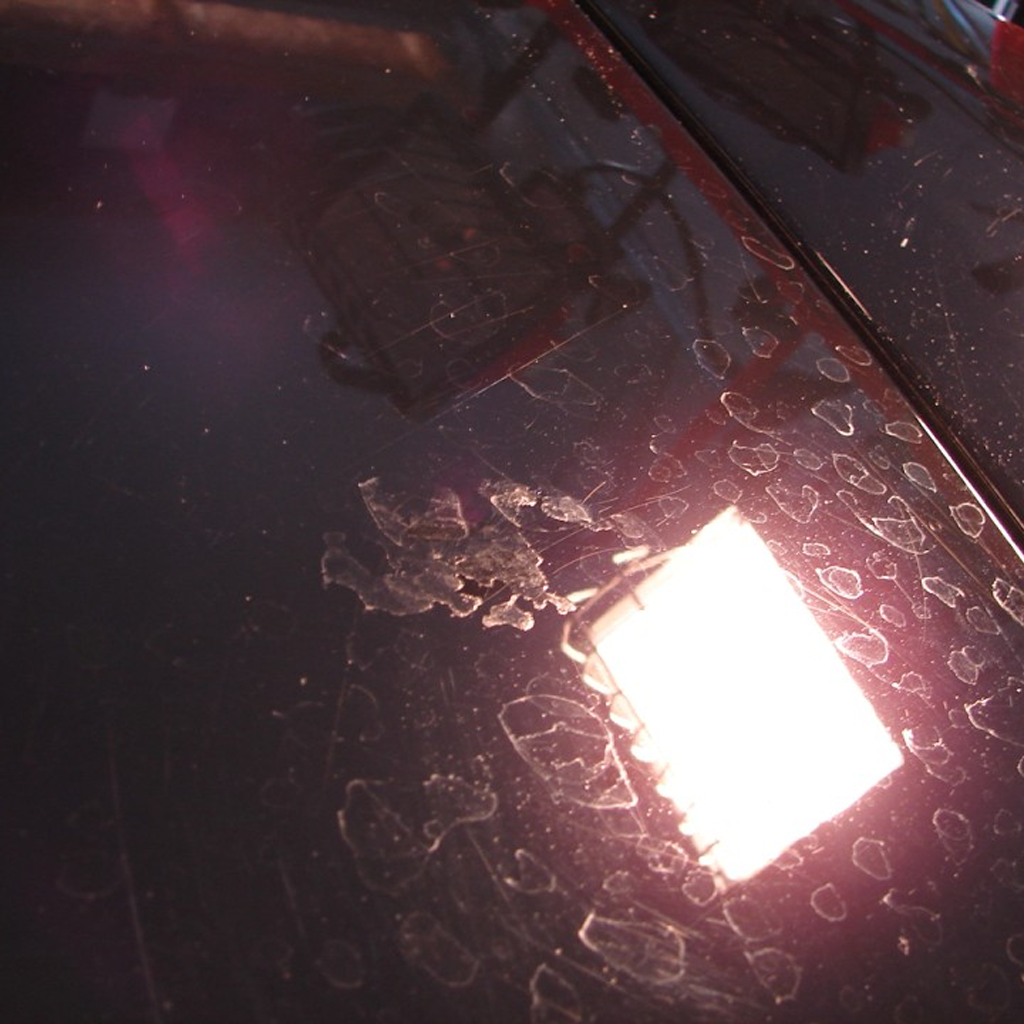
PEELING
car paint peeling off -OR- clear coat peeling from car -OR- paint coming off in sheets car
* An example of this type of paint challenge, but not necessarily the only representation.
PAINT ISSUE:
car paint peeling off -OR- clear coat peeling from car -OR- paint coming off in sheets car
PREVENTION:
- Apply enough coats for proper film thickness.
- Clean, sand, and prep the surface thoroughly for good adhesion.
- Use adhesion promoter on plastics and proper primers on all substrates.
- Use the recommended undercoat for each substrate.
TO REPAIR:
- If needed, strip to bare substrate and refinish.
- Remove all peeling paint, feather and prime the edges, and repaint.
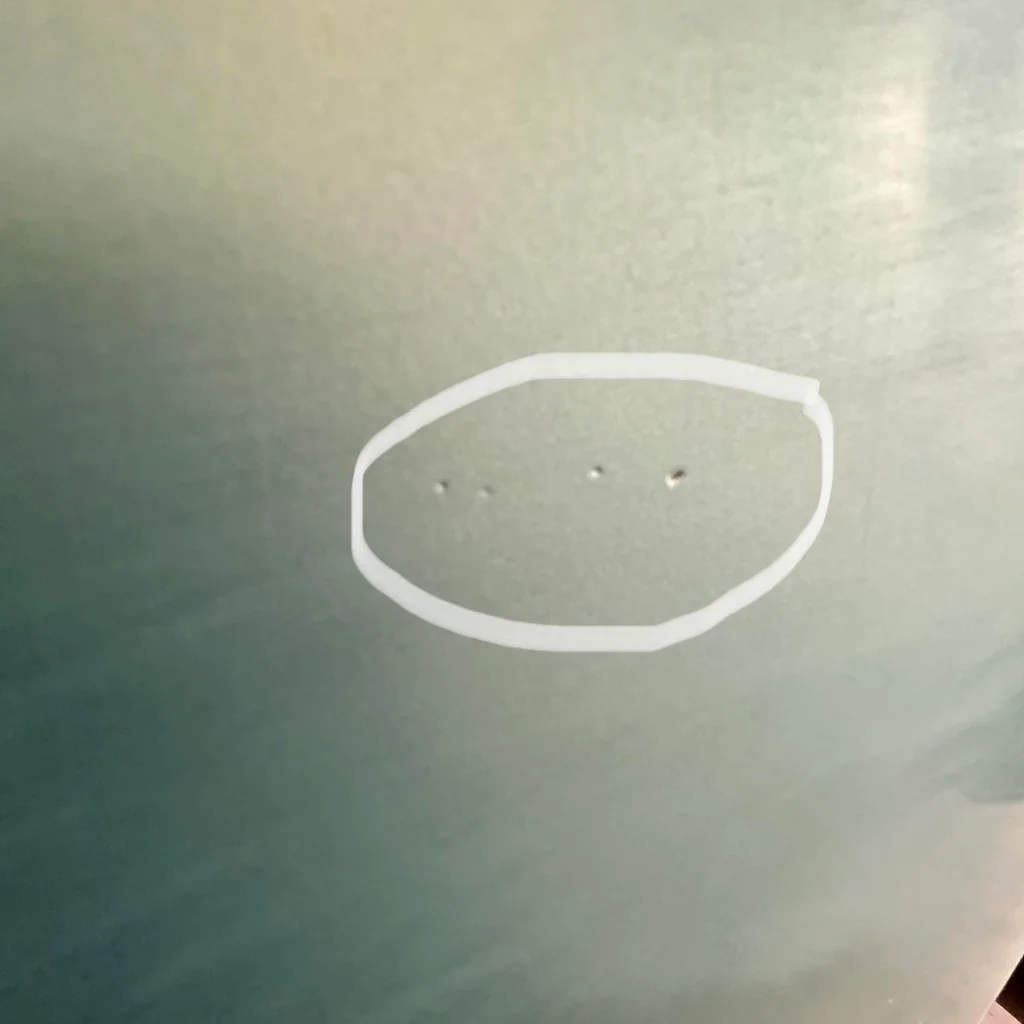
PINHOLING IN BODY FILLER
bubbles in bondo after sanding -OR- pinholes in body filler -OR- small holes in repair before painting
* An example of this type of paint challenge, but not necessarily the only representation.
PAINT ISSUE:
bubbles in bondo after sanding -OR- pinholes in body filler -OR- small holes in repair before painting
PREVENTION:
- Apply filler in thin layers and spread tightly.
- Finish with a skim coat of fine filler if needed.
- Mix filler thoroughly but don’t whip in air.
- Use recommended ratio of hardener and avoid heavy coats.
TO REPAIR:
- Prime and sand smooth before painting.
- Sand, clean, and fill pinholes with finishing putty.
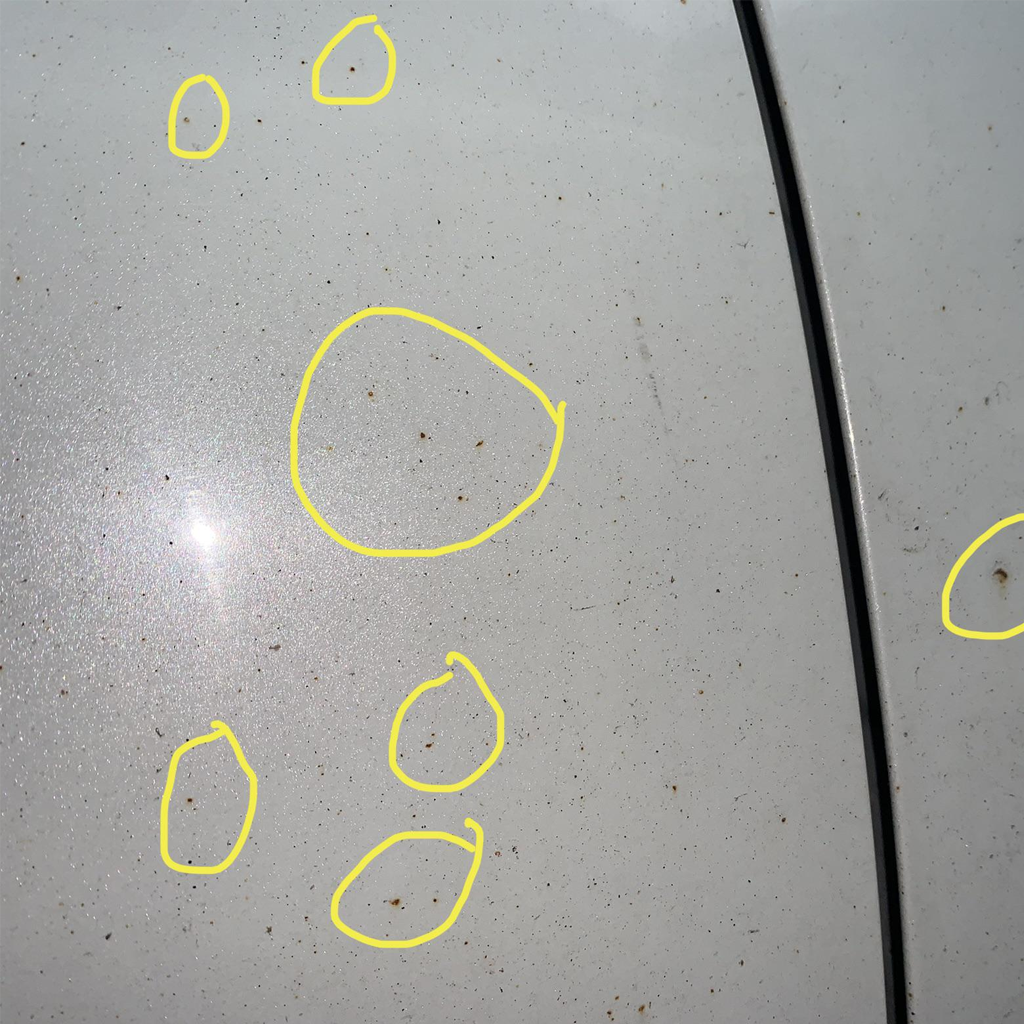
RAIL DUST
orange specs on white car -OR- rail dust removal from paint -OR- tiny rust spots on car paint
* An example of this type of paint challenge, but not necessarily the only representation.
PAINT ISSUE:
orange specs on white car -OR- rail dust removal from paint -OR- tiny rust spots on car paint
PREVENTION:
- Park away from rail lines or industrial fallout areas.
- Wash vehicle frequently, use a clay bar or acid-based remover to remove contaminants as soon as possible.
TO REPAIR:
- Sand and refinish if deeply pitted.
- Use iron remover or clay bar to clean the surface.
- Wash and polish to restore gloss.
RUNS/SAGS
drips in car paint fix -OR- runs in clear coat -OR- sagging paint after spraying
* An example of this type of paint challenge, but not necessarily the only representation.
PAINT ISSUE:
drips in car paint fix -OR- runs in clear coat -OR- sagging paint after spraying
PREVENTION:
- Apply thinner, even coats.
- Hold gun perpendicular and parallel to the panel, adjust speed and pattern overlap.
- Mix paint according to product directions and set gun pressure properly.
- Use correct reducer/hardener for conditions.
- Watch gun distance and speed; don’t “flood” the panel.
TO REPAIR:
- Heavy runs may require sanding and repainting.
- Let fully dry, then wet sand with a sanding block until flat and polish.
- Remove wet paint with solvent and refinish if caught immediately.
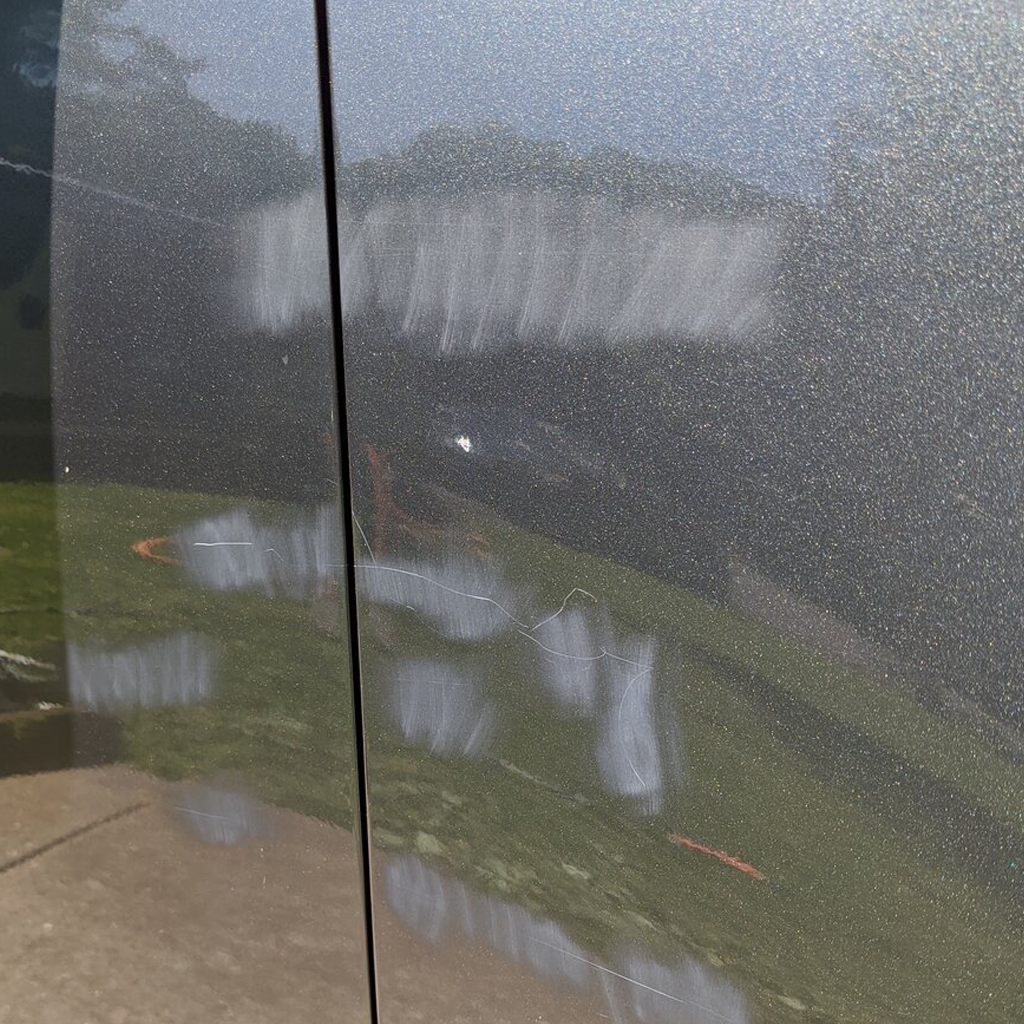
SANDING SCRATCHES / SANDSCRATCHES
paint shows sanding marks after spraying -OR- sand scratches showing through paint -OR- swirl marks in car paint after sanding
* An example of this type of paint challenge, but not necessarily the only representation.
PAINT ISSUE:
paint shows sanding marks after spraying -OR- sand scratches showing through paint -OR- swirl marks in car paint after sanding
PREVENTION:
- Avoid sanding basecoats or metallics unless additional color will be applied over sanded area.
- Cross-sand to remove deeper scratches before painting.
- Do not allow thinner/reducer to contact waterborne products.
- Keep mixing cups, guns, and lines clean.
- Only use materials within shelf life and pot life limits.
- Step down to finer grits as you prep; finish with 400–600 grit for topcoat.
- Strain all paint materials before loading your gun.
- Use 1200 or finer grit for best results.
- Use recommended thinner/reducer/hardener and measure accurately.
TO REPAIR:
- Do not use material that cannot be stirred or strained.
- Let paint cure, sand out the seeds, and polish.
- Sand out the marks, re-prime if necessary, and refinish.
- Severe: Repaint the affected area.
SEEDINESS
gritty texture in car paint -OR- seeds in clear coat -OR- specks in auto paint finish
* An example of this type of paint challenge, but not necessarily the only representation.
PAINT ISSUE:
gritty texture in car paint -OR- seeds in clear coat -OR- specks in auto paint finish
PREVENTION:
- Apply primer surfacer in thin wet coats, allowing adequate flash time.
- Don’t pile on heavy coats of anything.
- Let body fillers, primers, and undercoats fully cure before topcoating.
TO REPAIR:
- Sand until surface is flat, let fully cure, then re-prime and repaint.
SHRINKAGE
filler shrinking after painting -OR- repair shrinking under paint -OR- shrinking paint after drying
* An example of this type of paint challenge, but not necessarily the only representation.
PAINT ISSUE:
filler shrinking after painting -OR- repair shrinking under paint -OR- shrinking paint after drying
PREVENTION:
- Add the correct amount of drier if required.
- Maintain shop temperature at 70°F or above for proper cure.
- Mix hardener/activator exactly as instructed.
- Spray at the right temperature and humidity.
TO REPAIR:
- If it doesn’t cure after a few days, strip and repaint.
- If just undercured, wait longer or add gentle heat.
SILKING
clear coat stringing out of gun -OR- paint webs from spray tip -OR- strings from paint gun
* An example of this type of paint challenge, but not necessarily the only representation.
PAINT ISSUE:
clear coat stringing out of gun -OR- paint webs from spray tip -OR- strings from paint gun
PREVENTION:
- Avoid getting wax, silicone, or grease on surface after sanding; clean thoroughly before and after sanding.
- Avoid spraying lacquer or strong solvents over enamel or sensitive finishes.
- Clean hands, tools, and work area between every stage.
- Never use old rags or shop towels containing silicone, wax, or oil.
- Use proper solvent-based or waterborne cleaners recommended by manufacturer.
TO REPAIR:
- Allow sufficient cure between coats and use compatible systems for repair.
- Clean and prep surface thoroughly before refinishing.
- Strip off all wrinkled or contaminated paint.
SOFT FILM
car paint never fully hardened -OR- fingerprints in new paint -OR- soft paint after curing
* An example of this type of paint challenge, but not necessarily the only representation.
PAINT ISSUE:
car paint never fully hardened -OR- fingerprints in new paint -OR- soft paint after curing
PREVENTION:
- Allow enough flash time between coats.
- Avoid piling on or double wet coats.
- Restrict air movement over the surface during drying.
- Select recommended thinner/reducer for conditions.
- Spray in moderate temperatures, not too thick.
TO REPAIR:
- Inspect for pinholes after sanding to distinguish from dust contamination.
- Sand to remove blisters/pinholes, allow solvents to fully escape, then repaint.
- Severe popping may require removal and recoating.
SOLVENT POPPING
pinholes in auto paint finish -OR- small bubbles in paint after drying -OR- solvent pop in clear coat
* An example of this type of paint challenge, but not necessarily the only representation.
PAINT ISSUE:
pinholes in auto paint finish -OR- small bubbles in paint after drying -OR- solvent pop in clear coat
PREVENTION:
- Clean plastic with specialty prep wipes.
- Use a plastic primer/sealer on new or bare plastic parts.
- Use non-staining body filler, especially under light colors.
TO REPAIR:
- Sand down, apply a stain-blocking primer or sealer, then repaint.
STAINING/PLASTIC BLEED THROUGH
filler stains in base coat -OR- plastic bleeding through new paint -OR- yellow stains in paint after painting plastic
* An example of this type of paint challenge, but not necessarily the only representation.
PAINT ISSUE:
filler stains in base coat -OR- plastic bleeding through new paint -OR- yellow stains in paint after painting plastic
PREVENTION:
- De-tack tape before applying by pulling over pants leg/fingers.
- Don’t let tape bake in sun or booth.
- Remove tape promptly after painting.
- Test small area before taping freshly painted surfaces.
- Use high-quality automotive masking tape and remove as soon as paint tacks up.
TO REPAIR:
- Buff out light marks.
- Sand and repaint if marks are deep.
STATIC RELATED DIRT
dust sticking to paint from static -OR- how to stop static dust on car panels -OR- static attracting dirt during painting
* An example of this type of paint challenge, but not necessarily the only representation.
PAINT ISSUE:
dust sticking to paint from static -OR- how to stop static dust on car panels -OR- static attracting dirt during painting
PREVENTION:
- Allow all undercoats to fully cure before topcoating or blocking.
- Avoid recoating over soft, undercured, or solvent-sensitive finishes.
- Sand with the correct grit, progressing to finer papers.
- Test questionable areas with a lacquer-thinner rag for sensitivity.
- Use recommended primer/surfacer and sanding technique for smooth featheredges.
TO REPAIR:
- Allow swollen/sunk area to cure thoroughly.
- Re-prime and block sand for a uniform surface.
- Repaint using full coverage and proper dry/cure between coats.
- Sand smooth with progressively finer paper.
TAPE TRACKING
imprint from tape after painting -OR- masking tape left marks in paint -OR- tape lines in car paint
* An example of this type of paint challenge, but not necessarily the only representation.
PAINT ISSUE:
imprint from tape after painting -OR- masking tape left marks in paint -OR- tape lines in car paint
PREVENTION:
- Apply as many coats as needed for hiding; don’t rush it.
- Spray until hiding is achieved.
- Stir/shake thoroughly before spraying, ensure all pigment is in suspension.
- Use the right color primer (e.g., gray, white, or tinted) to help color coverage.
TO REPAIR:
- Let each coat flash, then apply more color coats for full coverage.
- Sand and apply correct colored undercoat if needed.
TRANSPARENCY
base coat too transparent -OR- old paint showing through new paint -OR- poor hiding in car paint
* An example of this type of paint challenge, but not necessarily the only representation.
PAINT ISSUE:
base coat too transparent -OR- old paint showing through new paint -OR- poor hiding in car paint
PREVENTION:
- Avoid washing new finishes in direct sunlight.
- Don’t let water dry on fresh paint; wipe it off or keep out of rain.
- Park painted vehicles indoors until fully cured.
- Wash in the shade and dry immediately.
TO REPAIR:
- Polish out light spots.
- Sand and repaint if marks are etched.
WATER SPOTTING
circles on paint after washing -OR- water marks in fresh paint job -OR- water spots on new car paint
* An example of this type of paint challenge, but not necessarily the only representation.
PAINT ISSUE:
circles on paint after washing -OR- water marks in fresh paint job -OR- water spots on new car paint
PREVENTION:
- Avoid excessive film thickness and heavy coats.
- Don’t use strong solvents over sensitive finishes.
- Keep newly painted finish out of direct sun until dry.
- Make sure the underlying coat is fully dry/cured before recoating.
- Use proper reducer/additives for spray conditions and follow temperature recommendations.
TO REPAIR:
- Sand minor defects, let cure, and repaint.
- Strip off wrinkled paint, allow proper cure, and refinish.
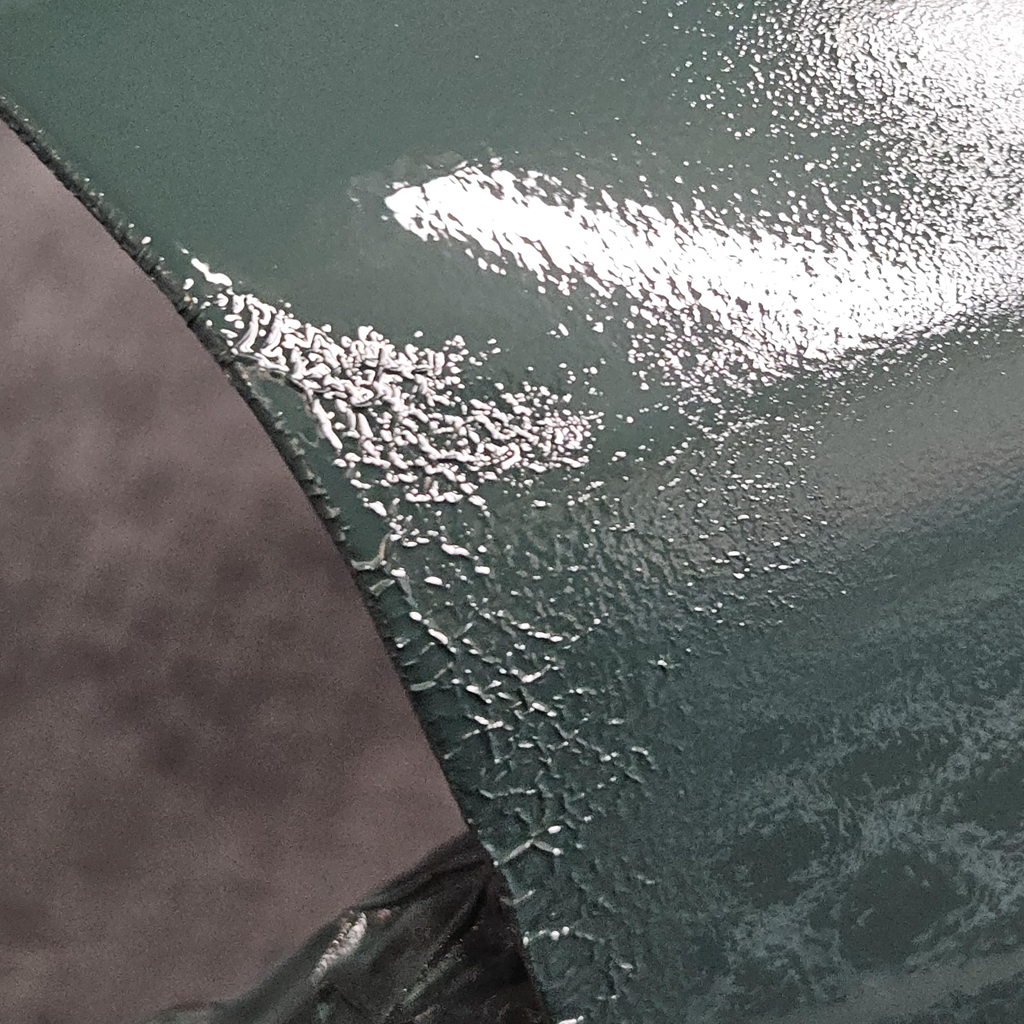
WRINKLING / WRINKLING FROM CONTAMINATION
paint wrinkling after spraying -OR- topcoat shriveling up -OR- wrinkles in paint from silicone
* An example of this type of paint challenge, but not necessarily the only representation.
PAINT ISSUE:
paint wrinkling after spraying -OR- topcoat shriveling up -OR- wrinkles in paint from silicone
PREVENTION:
- Avoid excessive film thickness and heavy coats.
- Avoid getting wax, silicone, or grease on surface after sanding.
- Clean hands, tools, and work area.
- Don’t use strong solvents over sensitive finishes.
- Keep newly painted finish out of direct sun until dry.
- Make sure the underlying coat is fully dry/cured before recoating.
- Use proper cleaners before and after sanding.
- Use proper reducer/additives for spray conditions and follow temperature recommendations.
TO REPAIR:
- Sand minor defects, let cure, and repaint.
- Strip off wrinkled paint, allow proper cure, and refinish.
- Strip off wrinkled paint, allow proper cure, clean thoroughly, and refinish.